Hi friends, I thought I'd upload a write up with few pictures on how I went about building my brat style custom seat for my CB750.
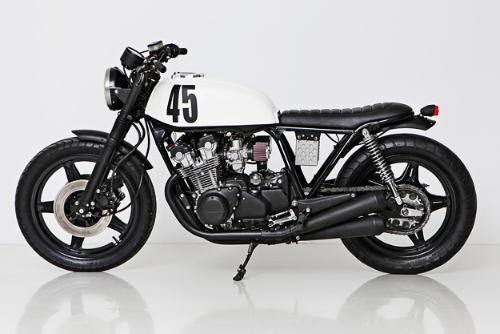
I was aiming for a seat that would look very similar to this. I have never worked on motorcycles much, almost certainly never a CB750. My first bike is a Royal Enfield

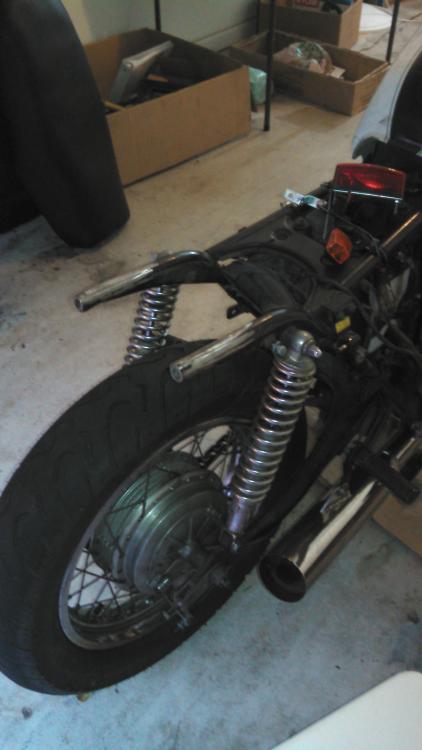
I had to built a rear hoop first, after I had cut out the ends of the frame. Here's a picture with the frame cut from the ends (I cut close to 2" of the frame and grinded of the mud-guard mounting plate which ran across the center). All of the cutting, grinding, polishing, sanding work was done using my 4-1/2" grinder
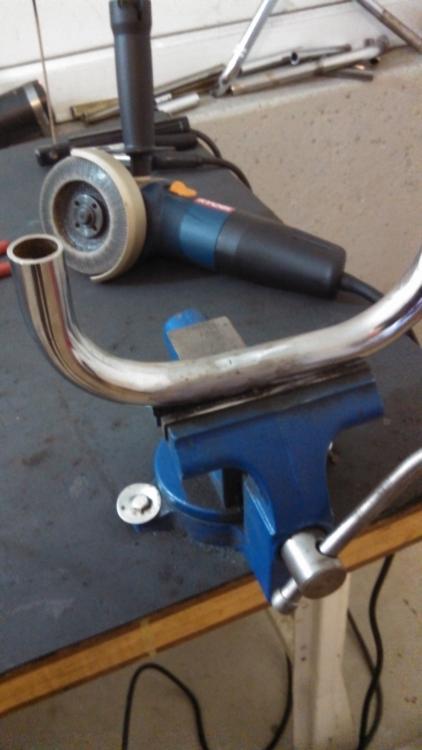
I built the rear hoop by cutting an old 7/8" handle bar into pieces that I could weld back together to form a U shaped hoop which had a width that matched the frame end separation. Measure and visualize, before you cut.
Now I had to strategically attach the rear hoop on to the frame end in a position that I had visualized. I wanted the hoop to be about 30-40degree angled of the frame. More explanation about this ahead
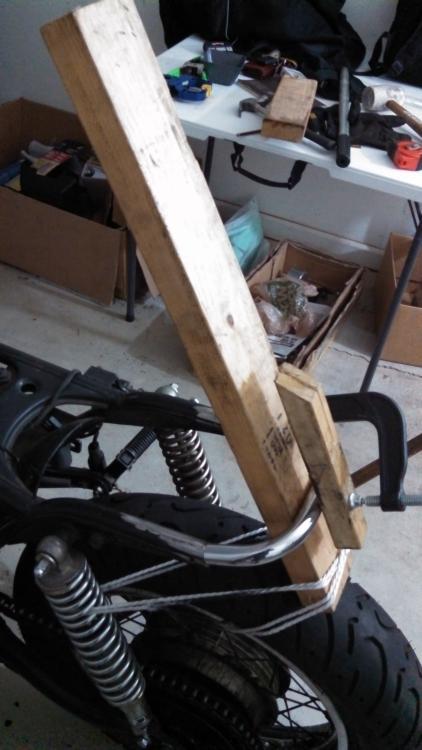
I have never welded before, so I bought a stick welder (for about $70 from HF tools) and practiced a few times before welding the hoop on. Since I was working alone, I had to get a little creative with how to place the hoop and the weld it on to the frame. Stick welders are painful and they stick to the piece you are trying to weld unless you have fair amount of experience using it. I learnt my lesson and have now upgraded to a MIG welder.
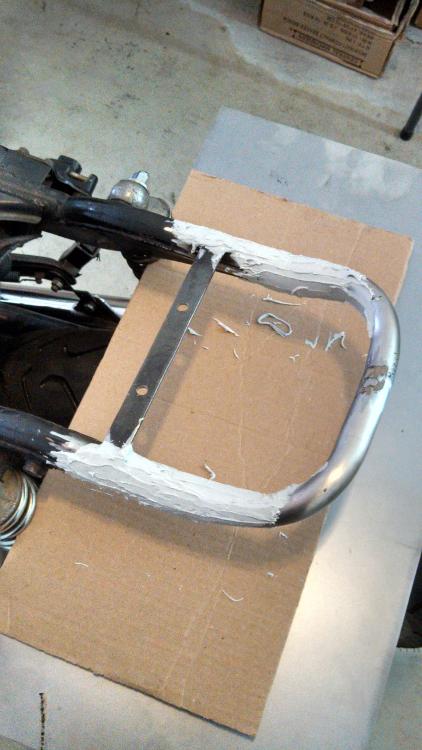
So I welded the rear hoop on to the frame, also welded a plate of metal (3mm thick and 0.5" wide with 2 holes using my drill press) which will be used to secure the seat pan. Applied some putty and sanded to shape. Here's a WIP picture
For the seat pan, I measured dimensions roughly and wrote it down on a piece of paper. Sketched the dimensions on cardboard and cut it to shape - this will form my blue print for the actual pan. Remember to consider extra inches for curves and offsets while measuring - very important.
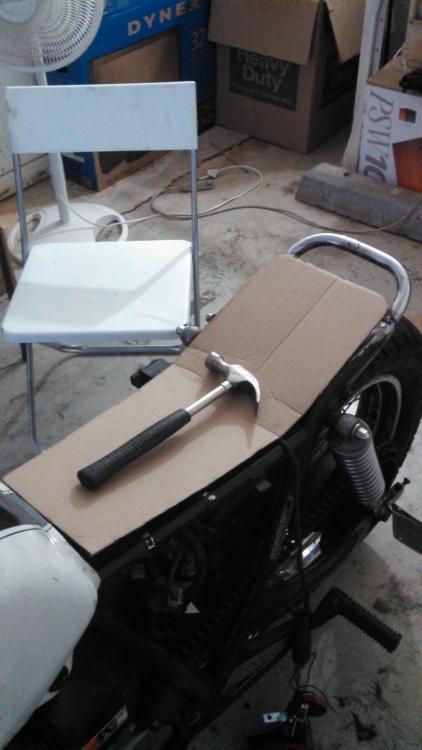
I got a piece of sheet metal from the local junkyard for about $6. This was 22 gauge sheet metal (0.03"), many folks prefer using 16 gauge, but that's too hard to form and bend to shape in my opinion. I feel anything between 20-24 would work just fine.
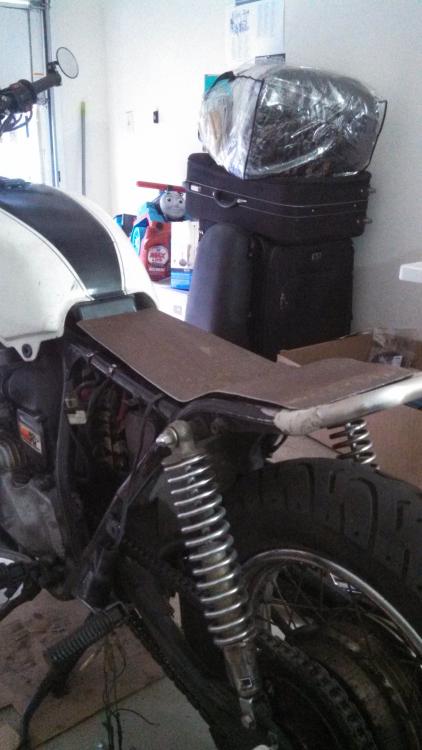
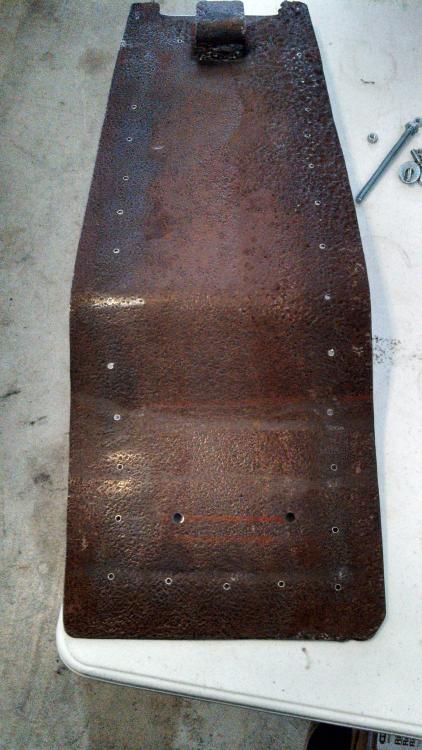
I used a wire wheel to get rid of all the rust from the old metal. Then using a cut-off wheel I cut it to the dimensions per my blue print, also ran grinders to polish and smoothen the pan. For the curves that you see in the seat pan, I stuck the pan under the concrete blocks you find in the parking lot (I had one nailed to my garage floor :) ) and used that as leverage to form the curves. For minor adjustments, I stuck it to my shop vise and hammered until I was happy with the shape and curves. You want to make sure you leave some clearance between your seat pan and the frame to allow for the fabric you will wrap your seat with. Here's a picture of my shaped seat pan
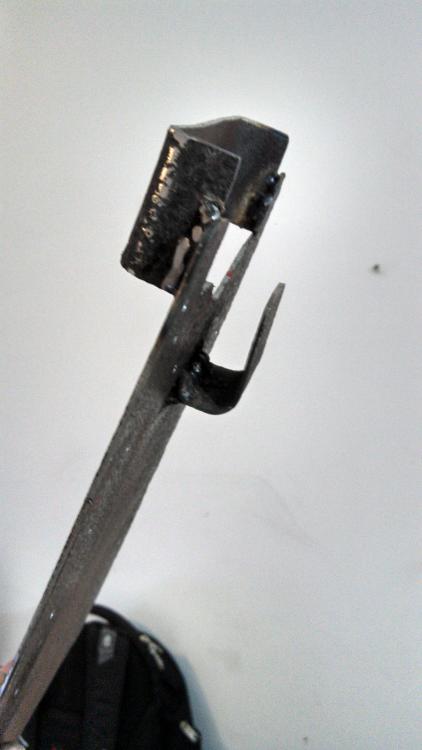
I then had to make certain alterations to the seat pan, to allow it to slide over the tank nut and slide under the seat holder to securely hold the seat into a position that aligns with the length of the bike. Here's a picture of the alteration I made to the pan
I was planning to rivet my seat fabric to the seat (other options include ind. strength gluing, bolting, etc.). Since I was planning to rivet, I drilled small sized holes (per the size of the rivets I had) all around the frame where I was likely going to rivet the fabric to the frame. Here's a picture
I bought the seat foam & vinyl from Jo-Ann fabrics. There are plenty of stores here in Atlanta. If you can't find a Jo-Ann I believe any other fabric or hobby shop will have the supplies you need for your seat. I think I spend nothing more than $20 to get the foam and vinyl. I think I purchased a 0.5" and 3" foam sheet (dimensions per your seat pan) and a 4ft x 2ft of semi-matte black vinyl.
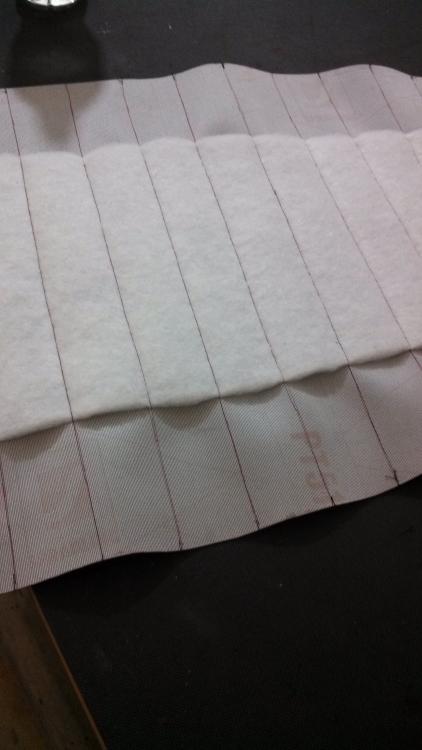
I had a girlfriend of mine run the horizontal seams (1" separation) to the vinyl by sewing a piece of 1" foam to the vinyl. But this is optional, I wanted to get a little creative and give that puffy look to the seat. Here's a picture
As for the foam on the seat, I cut the 0.5" foam to lay a base foam coat on the seat first. This is not needed, but I feel a thin layer of foam is easier to cut and glue to the pan first. Then gluing the thicker foam to the pan becomes even more simpler. See picture
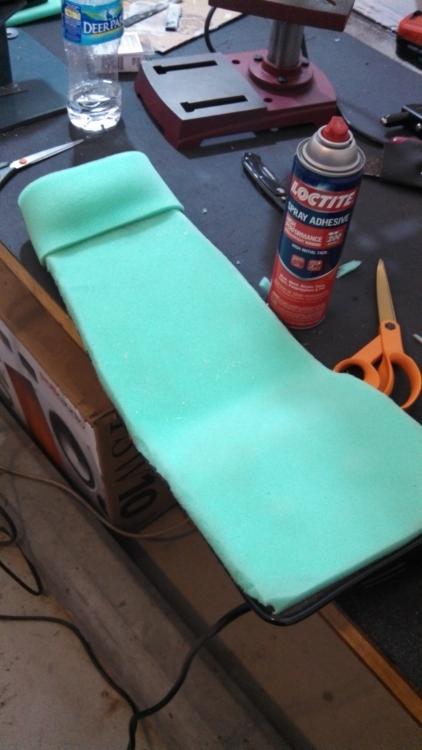
After that, I laid down the bigger block of foam on the seat pan and cut the foam to shape. You will be surprised to know that you can run your angle grinder on the foam to give it a nice smooth - close to perfect shape. See picture, it looks ugly and too high here, but when you wrap the fabric - it'll be nice
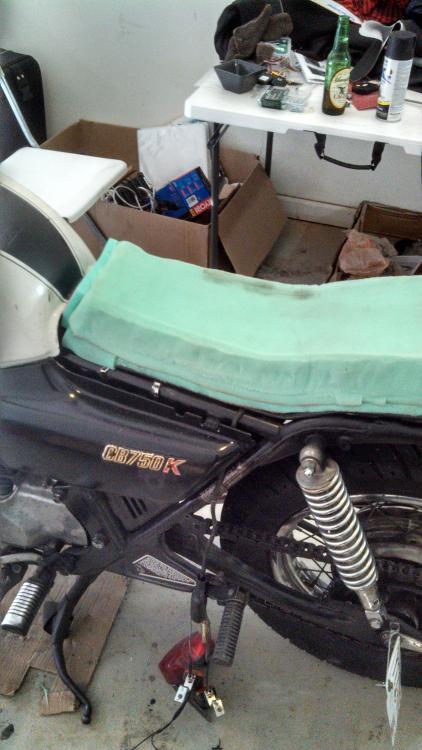
I then heated up the vinyl (by leaving it under 60 watt bulb for few minutes) and then stretched and wrapped it around the seat foam/pan. As I was wrapping, I also riveted the vinyl to the seat pain using a manual rivet gun and I think I use 3/8 rivets (a total of $20 with the gun). Here's the finished product
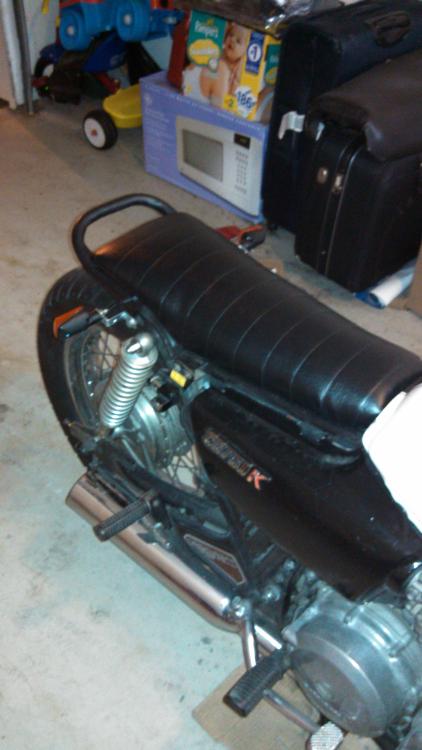
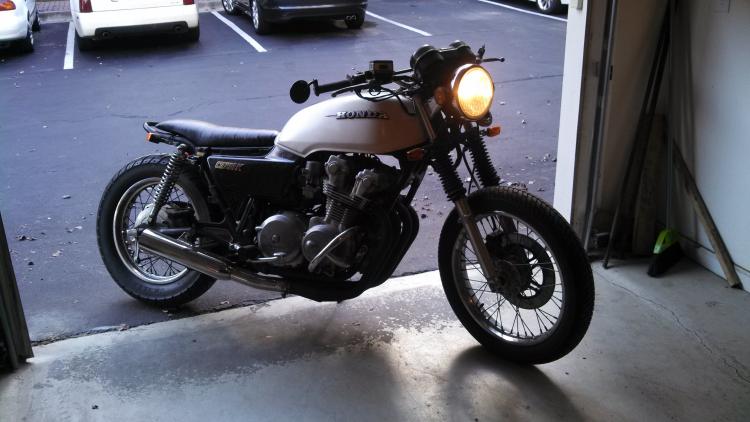
Hope you guys enjoyed reading and find this helpful. I plan to upload more such projects here, next one is perhaps of the engine coming of the frame for sand blasting :)