Damn, its been a while since I last updated this thread.
During the re-install I've been using anti-seize,, thread locker, and assembly lube where appropriate.
The moly assembly lube was $20 for the bottle, but apparently it'll likely last me for the rest of my life if I store it right.
Valve all back in and properly seated. I tested them with solvent and only a few were leaking. Pulled the valves again re-lapped them. Got them all sealing solvent tight. More carbon build-up came out of the exhaust port while I was doing this. Damn those things were gunked up.
Lots of care taken to ensure that the upgrade valve stem seals mounted properly and the springs were properly oriented. The directions in the FSM were great for this.
Cylinder head mounted. I only pulled the head, not the cylinder. I tried to a bit but it was _very_ stuck so I decided to just leave it. I'm hoping that this doesn't come back and bite me in my ass. There is a great instructional on the cb750c site by Frank on how to mount the head if you want pics

(
http://www.cb750c.com/modules.php?name=Forums&file=viewtopic&t=12228)
I mounted the head, put anti-seize on the threads and torqued it down, and then realized that I had neglected to install the cam chain follower. Dammit. Head came back off, cam chain follower installed, head back on and torqued down. I'm hoping that this mistake doesn't cost me significantly as well. It is my understanding that you can't re-use the head gasket, but I'm guessing that since it didn't run I should be fine.
Valve shims back in appropriate spots.
Cams and cam chains installed. Assembly lube on every contact surface for the cams. Assembly lube in the cam tower dowels to ensure that they slide out easily when I have to pull this engine apart again.
Red loctite on the cam chain sprocket so it doesn't come loose on me. Anti-seize on all cam cap bolts.
Again, a great thread by Frank on the cb750c site if you're looking for an instructional and pics. (
http://www.cb750c.com/modules.php?name=Forums&file=viewtopic&t=12100)
One thing that isn't clear from the Frank instructional is where to put the metal/rubber oil pool caps on the exhaust cams. They go on the side of the cam caps that face the exhaust port on the two innermost cam caps.
I also installed 900 cams instead of the 750 cams so I'm hoping for a nice bump in mid-range power. Since my cam chain was worn the alignment dots aren't lining up perfectly. I'll get a new cam chain and cam chain tensioner when I pull the engine next time (probably next winter). That is when I will pull the cylinder and probably do a lot of cosmetic work.
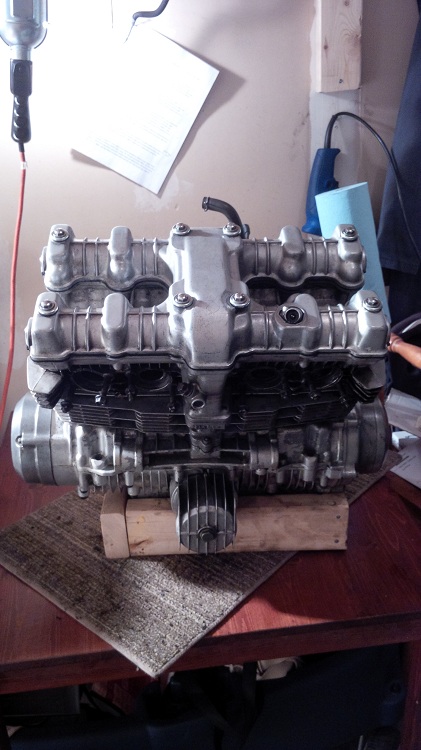
After getting the camshafts properly set up I fixed my valve cover bolts with new seals and installed them. Pic of old vs. new.
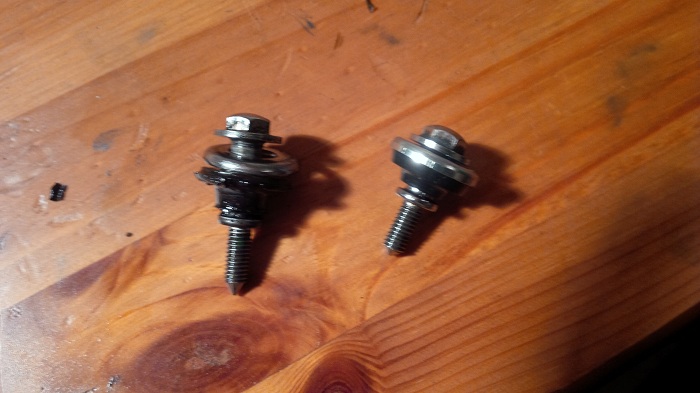
Replaced all of the easily accessible side gaskets. Put anti-seize on every outside bolt and torqued them to spec.
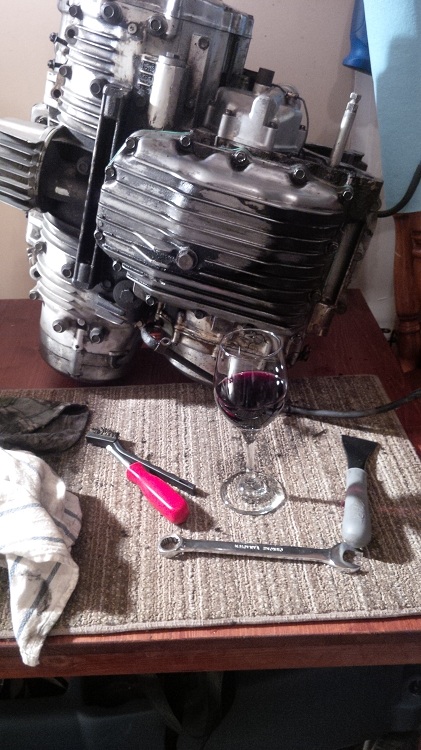
lifted the engine off of my wooden stand and pulled the oil pan gasket. This doesn't look precarious does it?
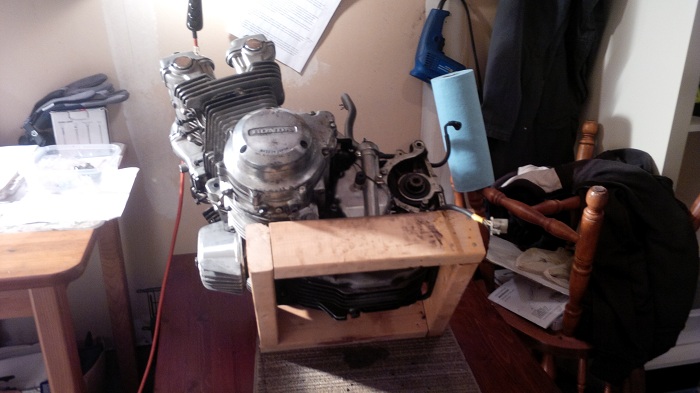
Ha ha, just kidding. Laid it on it's side with no issues to get the oil pan off, I just thought it was funny that it balanced there quite well.
Inside the oil pan was better than I expected. The last time I opened it up there were some fairly sizeable aluminum chunks & shavings, along with a fair amount of gasket material. This time there was just a few tiny specks of aluminum. I suspect that this is just the leftover remains of my cam cap tower that broke and it's cycling through.
I pulled the strainer and considered putting a new seal on, but the one I had was still _very_ snug, so I decided to leave it. I believe I read a thread here about someone having a loose fitting issue so I didn't want to take my chances and my seal looked great.
Cleaned up the pan and put it all back together.
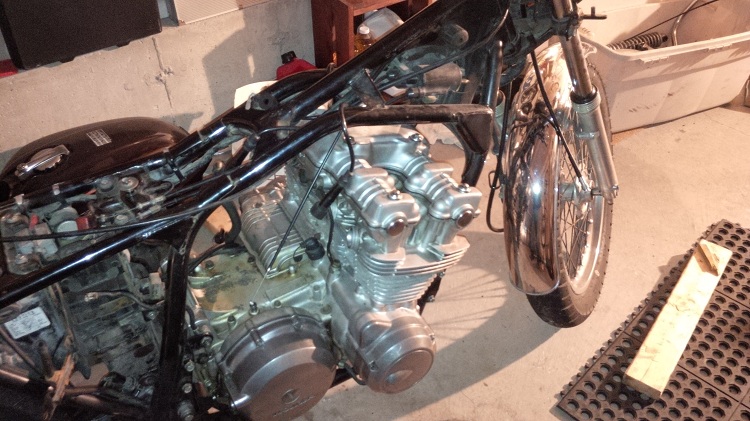
I started to clean up the bottom of the engine but it was after midnight so that will have to wait until tonight. My brother is coming over Sunday to help me lift it back into the frame, so it's all got to be done by then.
Next up:
- Clean the bottom of the engine
- replace oil filter
- put engine back in frame
- put new oil in
- hook up wires and make sure everything works
- figure out if I'm going to wrap my headers or blast/paint them
- install headers/exhaust
- install freshly cleaned carbs
- start it up & sync the carbs
I'm dying to get out and ride, so I'm going to wait to paint the tank & side covers, but that will likely be my first cosmetic job on this bike and should happen before summer.
1981 CB750K with 900 cams
90K KM's, rebuilt head, rebuilt carbs, upgraded valve stem seals
My wife's recipe website that I'm trying to help promote:
Strawberries for supper. Yes, I am a lucky man.


 ). Anyways, I managed to fish them all out with a q-tip, and slightly moving the piston up and down.
 it has all the prices inflated.

 (
(


 .
.

 . I was expecting a lot a rough starts until I got everything dialed in.
