So I dove into the instrument cluster today. I couldn't find a detailed description on how to take apart the instruments and repair my problem, "eric moon" had suggested a topic to search for but I had no luck.
I decided I'd dive in and make one myself. It will provide hopefully another link on google in case anyone else might be looking. Some of the pictures are incorrectly rotated sideways, but you'll get the idea nonetheless.
This is an update from a post I made yesterday. Regarding my needles being warped, scraping, and not giving proper speed and power indications.
{ link to the previous post...
http://honda-cb750-s.456789.n3.nabble.com/Speed-o-and-tach-needles-scrapes-top-of-housing-pictures-td4027729.html }
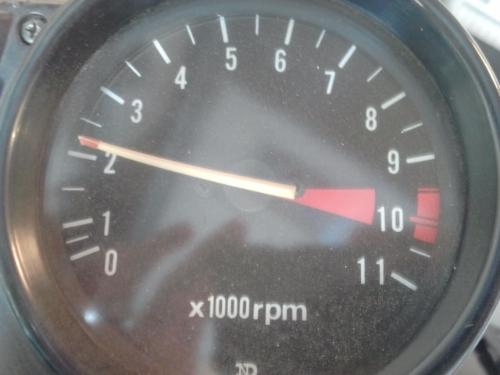
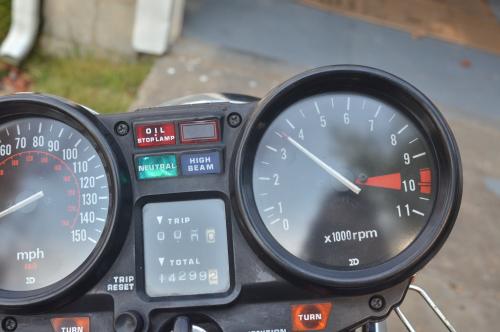
Here's what it looked like before I went to work... You can see the scrape marks the warped needle was making on the plastic face. Scroll to the end of the post so see what it looks like now!
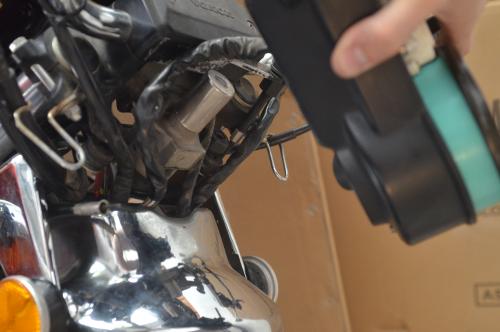
OK, so first I had to loosen the nuts that hold the instrument/clock housing to the bike and headlight frame.

Once the clock housing was loosened and pulled out you can follow the wiring and see that it is housed inside the headlight.
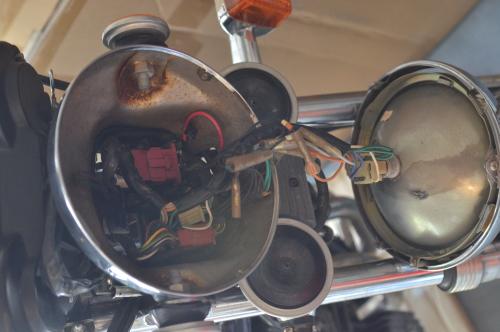
The next step was to remove the headlamp so as to access the wiring so it can be disconnected. There are two screws on the left and right side of the headlamp bezel which hold the lamp to the lamp frame. Once unscrewed the lamp slides right out.
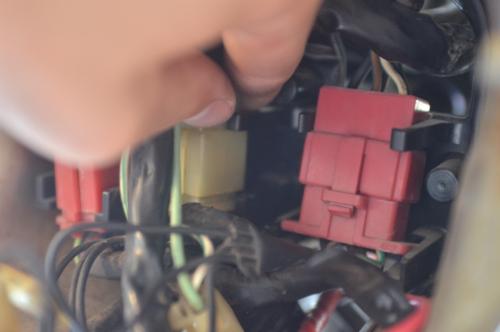
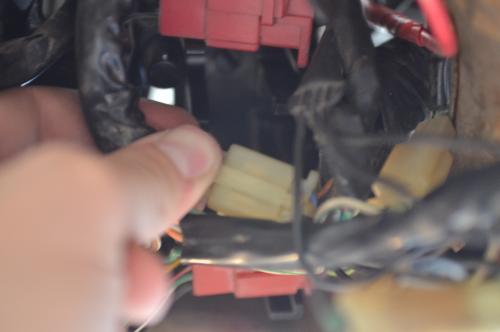
Once the wires are exposed, locate the instrument cluster's plug. Before you can unplug the male and female ends, you must unclip the plugs from their recessed housing. Here are 3 pictures showing me pulling the plugs out...

Once unplugged the instruments can be removed and the real work can begin. Next, the bezel that houses each instrument needs to be bent away from the instrument casing so that the face can be freed and the instrument pulled out.
For this step I used a burnishing tool that is often used for bending and shaping soft metals when making jewelry. You can purchase one from Rio Grande Jewelry Supply online. This tool worked great because it will not scrape up the plastic while you bed the bezel away from the casing.
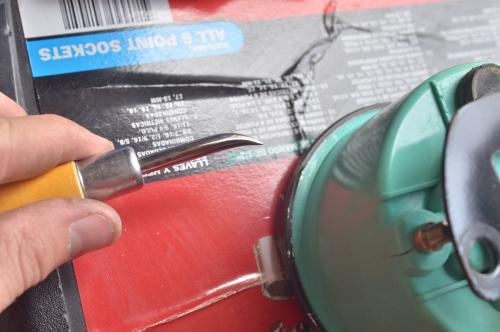
Here are a couple pictures showing exactly how I used the tool.
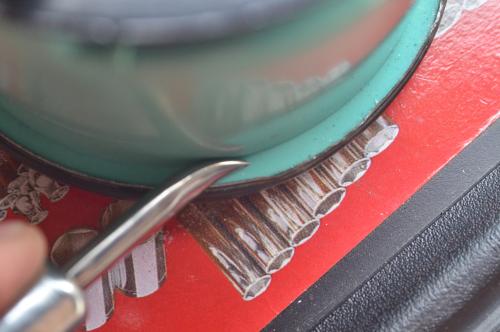
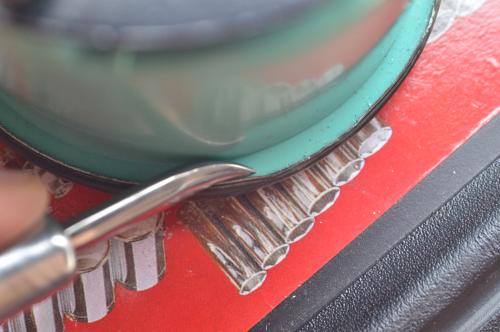

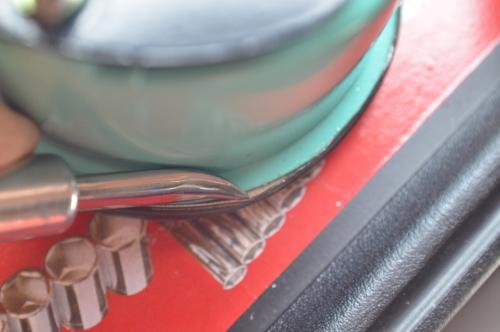
The nice thing about the bezel, is that after I bent a section away from the casing, I would literally rotate/twist the the bezel so that I could work on the next portion. By doing this, I didn't have to move the instruments around, or pry at awkward angles. Once I pried enough of the bezel, I removed the looking glass and face. Next you must unscrew the two little phillip screws that hold the instrument to the casing.
In this next picture I skip ahead and already have the tachometer pulled out, but you can compare it to the speedometer to see what two screws I'm talking about.

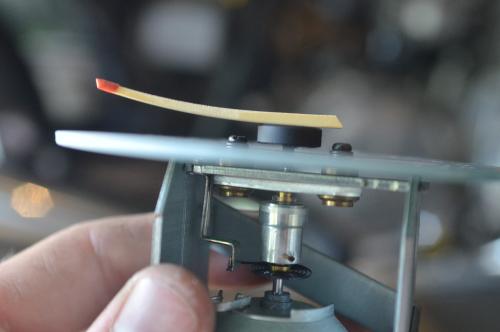
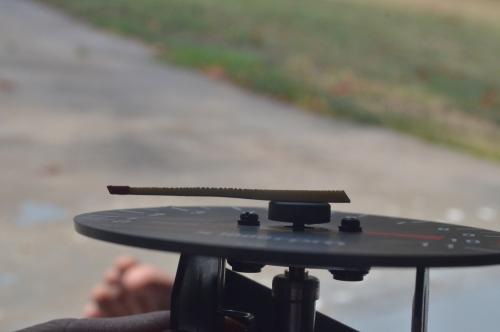
Here you can see how drastic the needle was bent. I was quite surprised! I am pretty sure this was from sun damage, and warping in the heat.
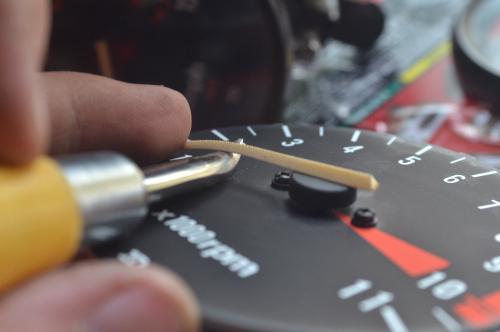
Next I used the burnishing tool as a bending guide, as I bent the needle in the other direction. As I bent the needle, I used a lighter to heat the upper top of the needle, to make it semi-pliable. I made sure to only hit the needle for a quick second with the BLUE part of the flame (which contains less smoke / pollutants, and won't discolor the needle as much).
The burnishing tool was important for this step because it acted as a heat sink, which warmed the needle from the bottom, while also absorbing the heat that might have transferred into the painted tachometer glass face.
*** CAUTION! If your needles are brittle, you might run the risk of breaking them when bending them back the other direction. Mine were semi-flexible to begin with. I would suggest laying the needle in the hot summer sun for a while, or putting the whole instrument in the oven at 100˚ for a couple minutes to help the needle become less rigid. If you melt your needles in the oven don't come blaming me though! But, 100˚ for a couple minutes is nothing compared to the 114˚ summer we had this year! ***
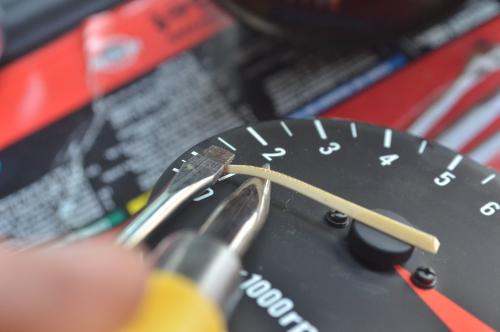
When I got to the end of the needle, I used a flat head to help bend the needle over the burnishing tool. Without the flat head the heat was burning my fingers! I held the two tools kind of like chopsticks.
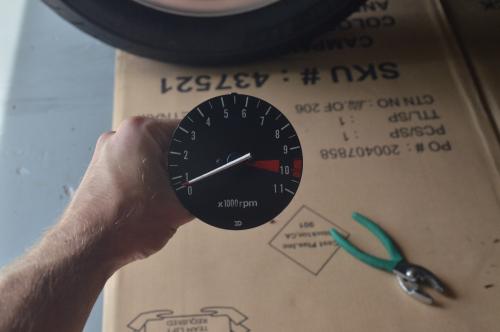
After bending and heating each section the needle was back in good enough shape for me to be satisfied! Sweet!
I then repainted the yellowed, sun damaged needle with some of my wife's white and red nail polish I found laying around the house. The nail polish not only will help cosmetically, but it will also protect the needle from the sun as well!
The second picture shows the color difference between the untouched speedometer and the repaired and refurbished tachometer needles.
I then put the tachometer back together, put the bezel and face back on, and bent the bezel back into place with pliers and a rag to protect the metal from scaring from the pliers. I forgot to take a picture of this, but I'm sure you get the idea.
I then did the same thing with the speedometer. The only difference is that once I got the bezel off, I did not take the speedometer out from the plastic casing, because it is interlinked with the tripometer/odometer and I really didn't feel like dealing with the head ache of putting it all back together.
I did remove the two back screws through, so that I could work on the needle more easily.
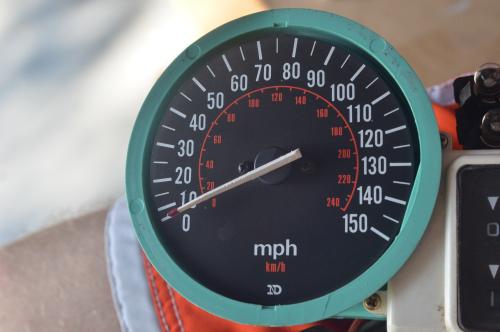
Here's the speedodmeter after I finished bending and painting.
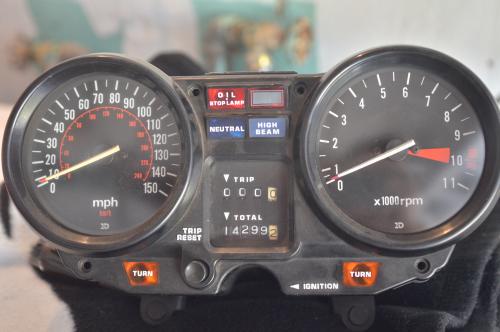
FINALLY I put everything back together, and voila! Now I have pretty white needles, that work great and show proper indications! BAM!
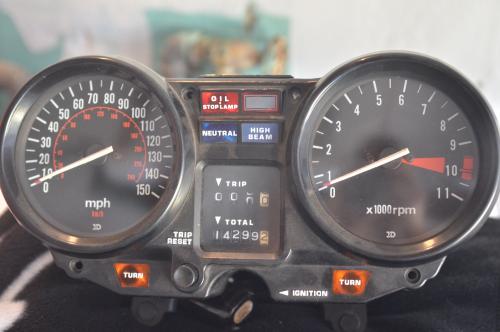
So again, here's the before and after...


