So, I put heated grips on my '81 K this weekend. My dad did quite a bit of work, over half a dozen store runs (they were thankfully only minutes away) and we never stopped working on it. The end result was a ton of changes. The biggest change was the addition of a cigarette lighter and heated grips.
I ordered a kit that a member on a Goldwing forum my dad is a member of recommended:
http://www.casporttouring.com/store/merchant.mvc?store_code=CST&screen=PROD&product_code=16025Shipping was fast and reasonable. I ordered them Tuesday or Wednesday evening and received them at my Dad's on Friday.
The kit had the basics you need - vampire electrical plug (for a relay), the switch you need to turn them on, 2 heaters, half a dozen zip ties, and a set of instructions.
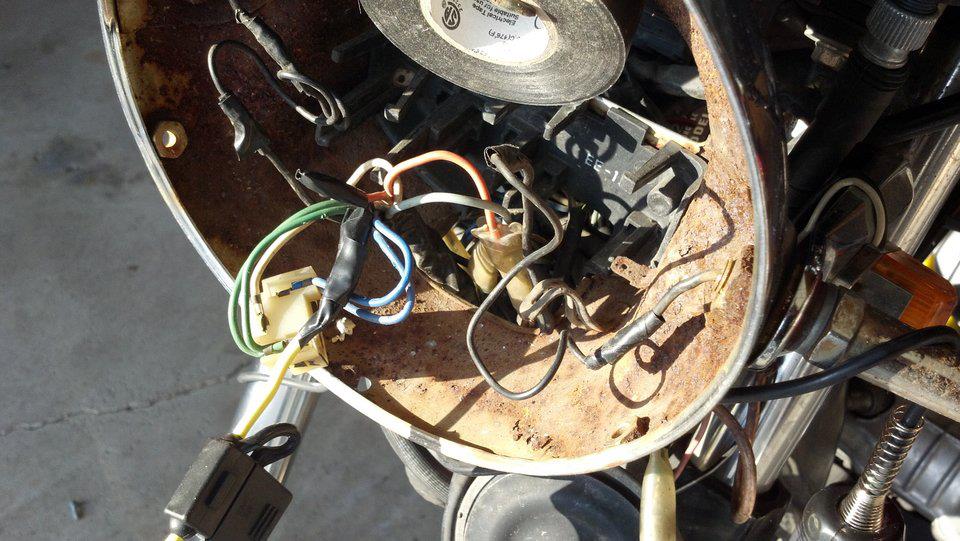
First, you want to tear into your headlight and put a relay in off the headlight. Note: I did not do it here, since a previous owner left a keyed hot already in place for us to use. The relay can be a basic one from the store; it should have 4 prongs. Read your wiring and do it right the first time. On your wiring for the accessories, install a fuse. Make sure its an all-weather fuse. It would suck to be riding in cold rain, 10 miles from your destination, and you blow a fuse due to being improperly covered.
After that, solder in 2 lead wires. I used 14g. I ran these to where I will be installing the switch, and the other to my cigarette lighter.
Once you've done that, you will want to position your heated grips, run the wire, and run that to the switch as well.
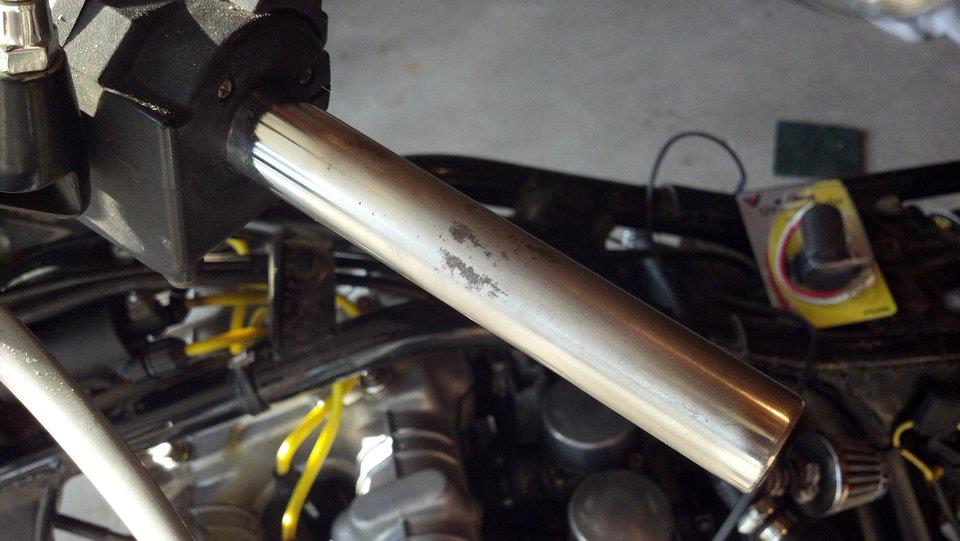
First, remove the grips. Mine were stock rubber ones, which after 10 minutes I gave up on. I sliced them off. The kit's heaters are marked 'clutch' and 'throttle' and, while I headed its advice, there's no reason to be marked. Rub the grips down with paint thinner, sand with some sand paper, then lay epoxy that is good for both metal AND plastic (because the throttle side is plastic) and then quickly put the heaters down.
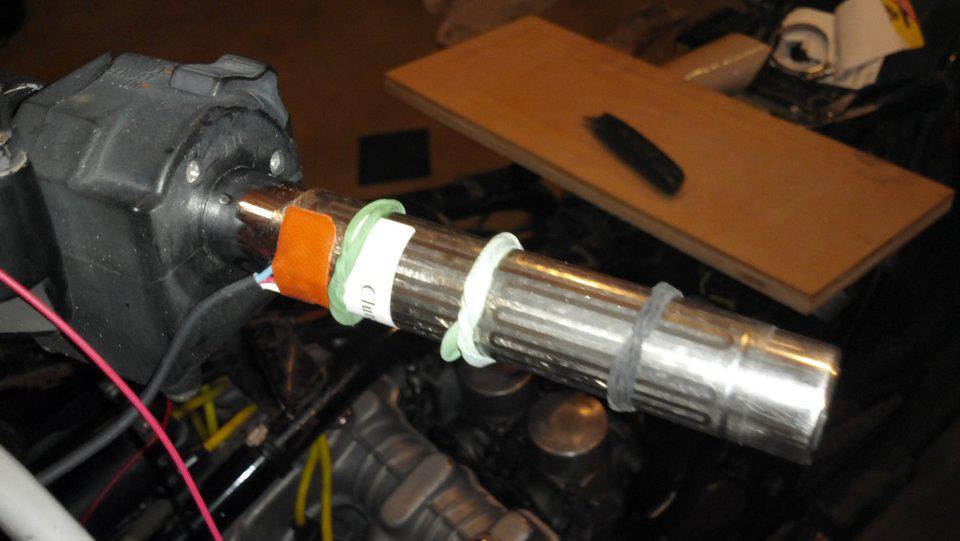
Fasten with rubber bands, and let set for over 1/2 hour. Before you put the rubber bands on, make sure the wire will cooperate where it sits. This is especially important on the throttle side; it is rubbing against the box. Also, make sure your heating element is no closer than 1/2 inch from your bar ends.

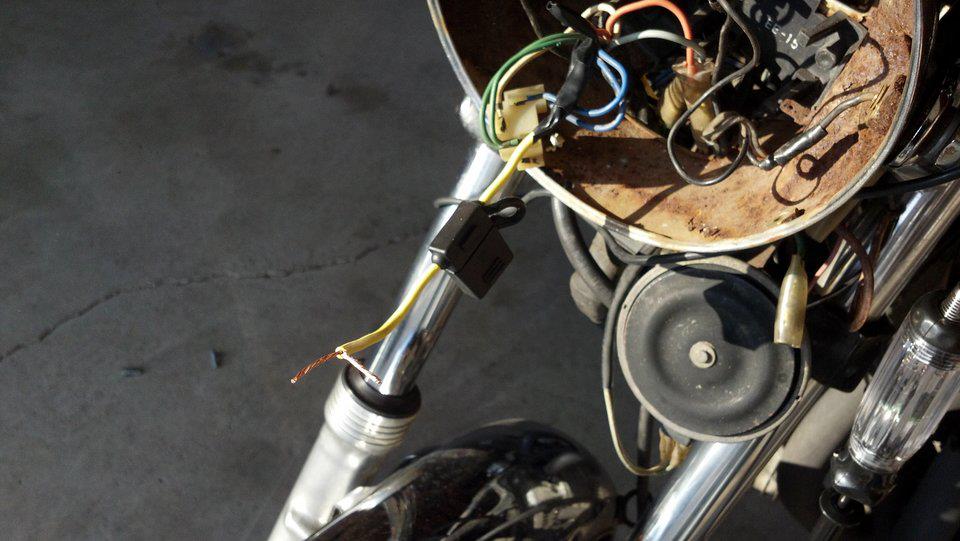
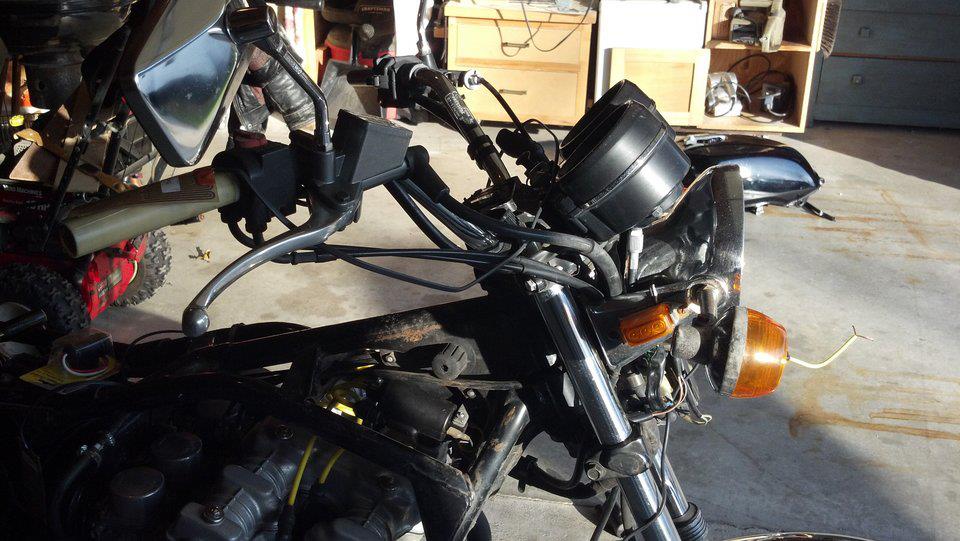
Because these wires do NOT leave the handlebars, you do not have to worry about THESE wires binding when you turn. You can run the wire as you wish. You can see the beginning of my route in this shot, except I went under the gauges for obvious reasons:
To mount the switch, you need to make your own mount. This, in my opinion, is the only thing the kit is truly missing. Thankfully, my dad located an old bracket he made to mount a cup holder which we were able to modify:

Finally, you just wire stuff up to the switch. There are 3 colors of wires coming from the grips: Blue, Red, and white. White and blue go to the high and low side of the switch. The hot from the relay goes to the center of the switch. The ground (red) from the 2 heater elements go to a ground on the bike. DO NOT use the handlebars; use a frame source. Handlebars are not a ground, and these will not work.
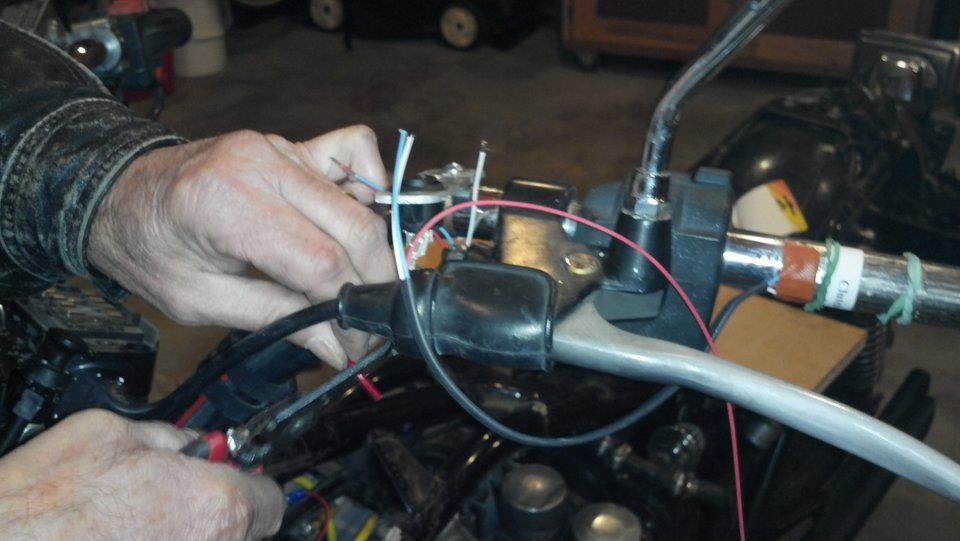
What my father did was run a single wire from a mount for the coils (we replaced 'em and the bolts were easily accessible, and quite close to the triple tree) and ran that to the wiring, where we split the 14g in half, soldered each ground to a half, then taped them closed. The wire for the heaters is extremely thin, so this worked perfectly.
Before you go, make sure to wrap the bottom of the switch in electrical tape. Otherwise, everything is exposed and that can pose quite a hazard.
Final thoughts: I absolutely love these. I rode home that night from Zeeland, MI to my place, which is usually a 2.5 - 3 hour ride. I got to my first pit stop and was still warm over my entire body, though it was around 30 deg. outside. I had on sweats and jeans, 3 shirts (t-shirt and 2 long sleeve) plus a balaklava and helmet and winter jacket. I made the mistake, however, of going inside Flying J for approximately 30 minutes, causing my body to lose its residual heat.
When I stepped outside again, I instantly froze. I got on the bike, and while my feet never warmed up again (I had to stop an hour later for warmth) the rest of my body warmed up, due to my hands. My legs were cold, but a manageable cold. I left them on low, and the right-side still left red marks on my hands - through 100 gram mittens! I suspect once I get new grips and a little glue to hold 'em on, that will go away.
The bike does NOT want to run well when the heaters are set to high. They draw 40 watt, 3 amp, and the bike stumbled even with brand-new coils. So turn the heaters off until you're rolling. They warm up within several miles, and stay hot.
Many thanks to my dad. While I knew where and how, he did the work. I cannot solder worth a crap, and while his may not be pretty there's always electrical tape. But his don't fail.
I hope this helps someone!
Turbos, Hondas, 4-bangers, what could go wrong?

Shiny: [...] Considering the weather you've had to put up with I'd say you get an Iron Butt award and a Frozen Nipple trophy to go along with it. First time I've ever posted the word nipple... it ends here.


