1983 CB750 DOHC Build

classic Classic list List threaded Threaded
108 messages Options
123456
Reply | Threaded
Open this post in threaded view
|

Re: 1983 CB750 DOHC Build

ljonny18
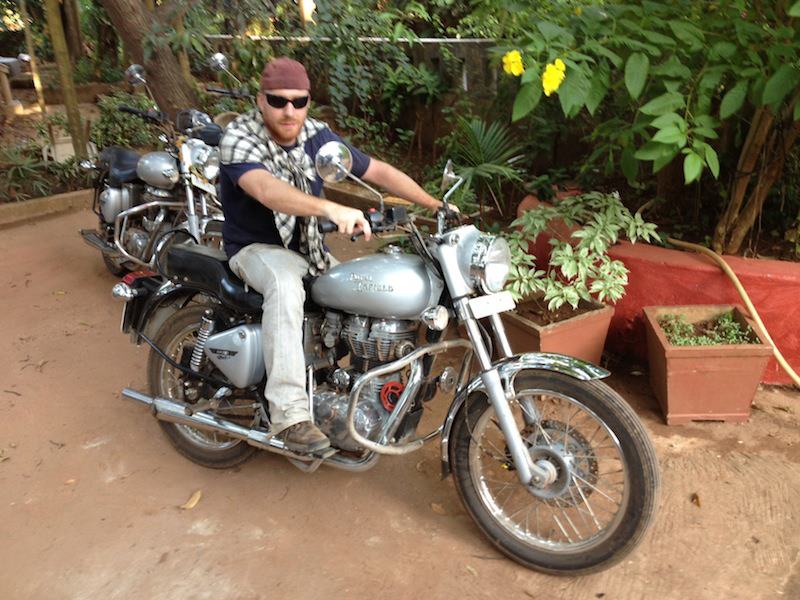
Sorry for the lack of updates recently - I have been in south India for 2 weeks doing a tour of Goa and karnataka on a Royal Enfield:


I will start updating the thread again ASAP !!!

Cheers,
Jon.
Reply | Threaded
Open this post in threaded view
|

Re: 1983 CB750 DOHC Build

shinyribs
Administrator
Awesome pic man! Is that a bullet sixty five? Great sounding motorcycles
Reply | Threaded
Open this post in threaded view
|

Re: 1983 CB750 DOHC Build

ljonny18
shinyribs wrote
Awesome pic man! Is that a bullet sixty five? Great sounding motorcycles
Cheers - we had a great time !!! it is a Bullet, however it is a new (2012 model) one !!! Royal Enfield moved production over to India and are still making them today (350 and 500 cc models) with 5 - speed boxes and the gear selector on the left hand side !!! Dont worry, they still sound awesome (especially with no emission laws in India)

We had a selection of new 350 and 500's and a few old versions with old (right hand side) boxes :)
Reply | Threaded
Open this post in threaded view
|

Re: 1983 CB750 DOHC Build

ljonny18
ok sorry for the delay... back :)

progress:

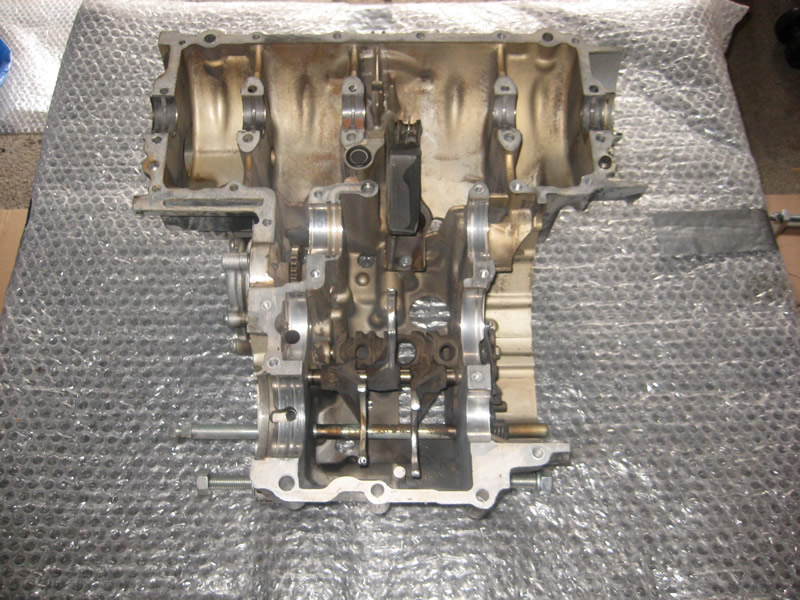
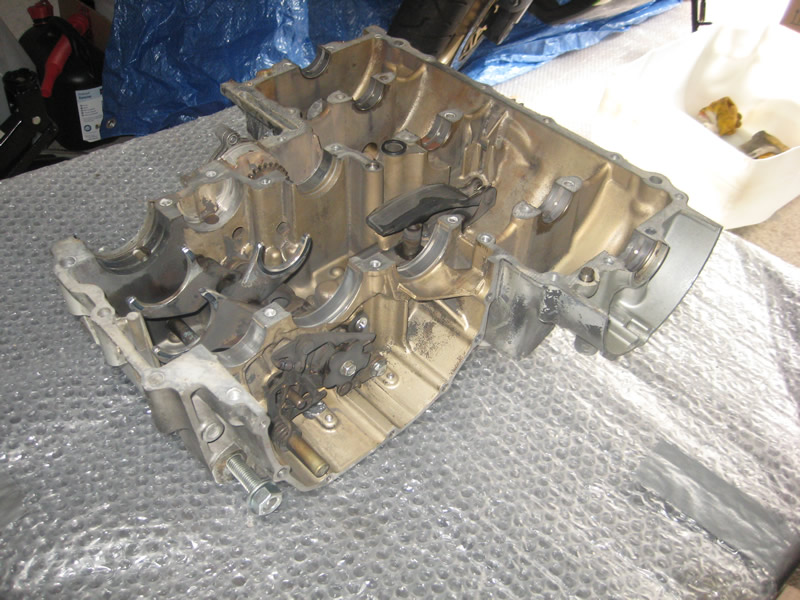
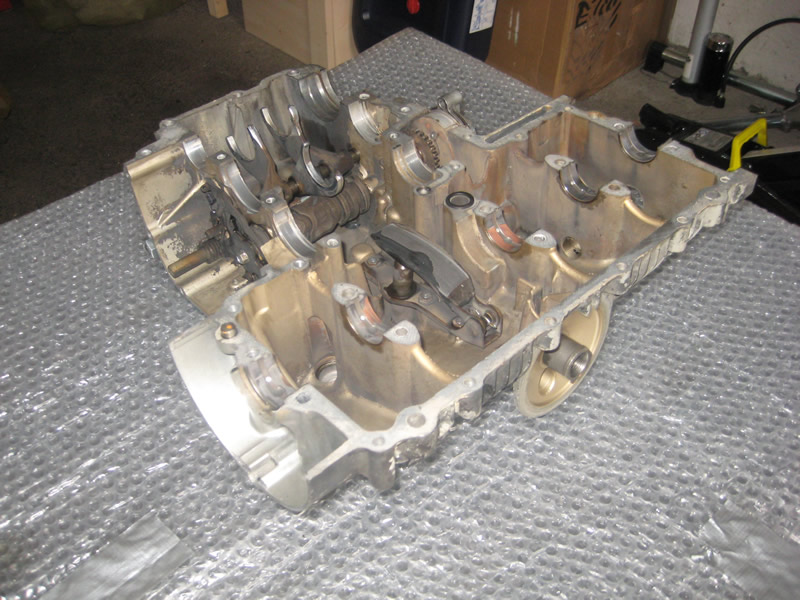
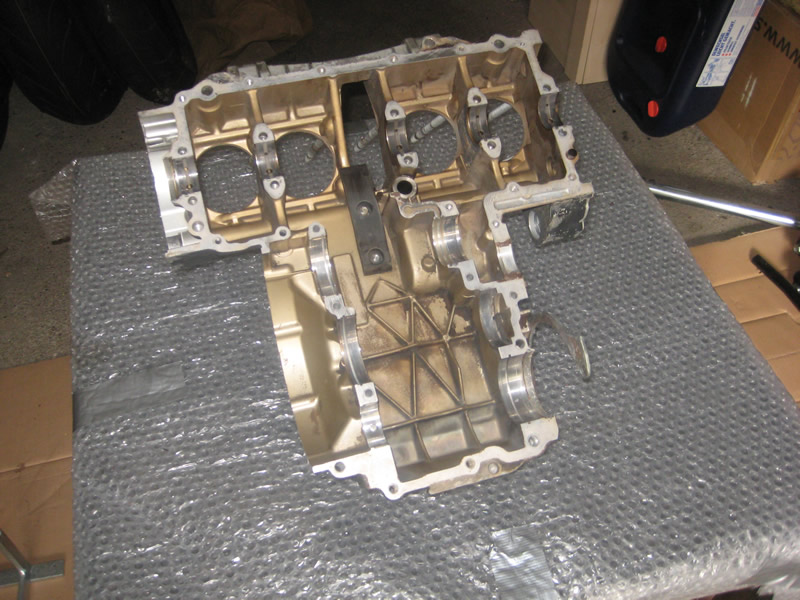
I started removing the connecting rods, camshaft and gear box... and all in all, its looking pretty good condition wise (considering it has what I believe to be a v-hard 60k mile life):


Reply | Threaded
Open this post in threaded view
|

Re: 1983 CB750 DOHC Build

ljonny18
All engine parts now ready for inspection:

Reply | Threaded
Open this post in threaded view
|

Re: 1983 CB750 DOHC Build

ljonny18
Let the inspection commence :)


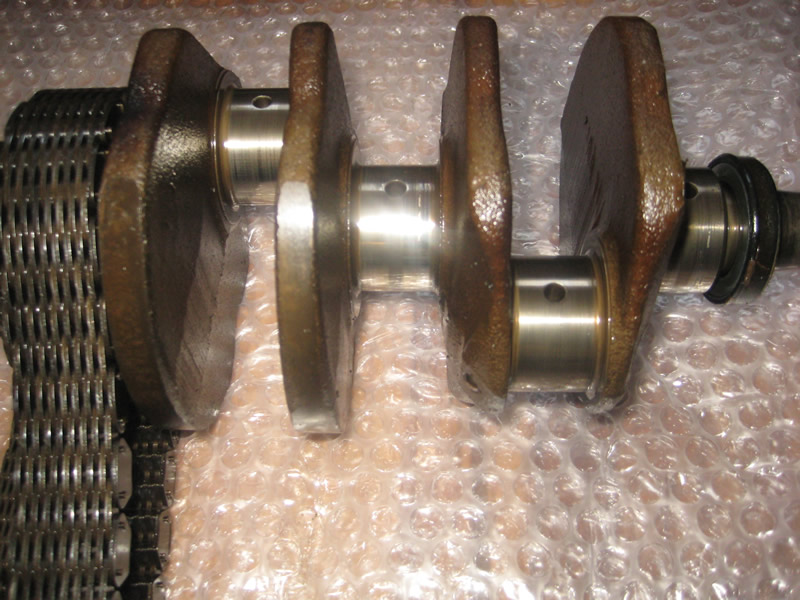
The camshaft, camshaft bearing and connecting rod bearing all look in good condition... all are v-smooth with no scratches / marks... I am guessing it makes sense to replace all bearings in any-case just to to be sure - or, is this a little OTT ??? is is worth replacing all bearings even if they appear to be good (remembering thay already have 60+k wear on them) ...

I will be checking all other parts for wear and will be replacing all gaskets and seals... Is there anything else that I should check / renew at this stage of a build... ??? As always any help / advice is much appreciated !!! (this is my first build, so I am still a bit of a novice :) )
Reply | Threaded
Open this post in threaded view
|

Re: 1983 CB750 DOHC Build

LukeM
Administrator
Since you've already split the cases and torn it all down, NOW is the time to replace stuff that sits deep inside the engine. Bearings, rings, seals, anything that you can't get to from the outside. Do you REALLY want to pull it all apart because some seal that looked OK/wasn't all that bad went bad?

It may be a bit pricier to swap stuff, but this bike is what...30 years old now? Pay now, or pay later.

Luke M
(who parted out his CB750L when the repair would cost $2K in parts and labor)
Used to have a 1979 CB750L, sold it as a parts bike, now riding a slightly modified 1984 VT700C. Network/Field Engineer. Central OH, USA, Earth, Sol System, Milky Way Galaxy, Universe.
Reply | Threaded
Open this post in threaded view
|

Re: 1983 CB750 DOHC Build

TOOLS1
Administrator
In reply to this post by ljonny18
Bottom ends do not have the wear that the top end does. I would "plasti gauge" the bearings. If they are within spec I would reuse them since you stated they were smooth without scratches, or discoloring.
TOOLS
Life is not about the number of breaths, you take, but the moments that take your breath away.
I don't have an anger problem. I have an idiot problem. Hank Hill
Never confuse education for intelligence.
Happiness is a belt fed weapon.
I just can't imagine what could go wrong.
No fire? No explosions? So whats the point of your story?
Those who are too smart to engage in politics are punished by being governed by those who are dumber. ~Plato
It couldn't be done, but the darn fool didn't know it, and did it anyway.
We all got problems. Ksharp
I like vintage bikes because they take me away from the clutter of technology that I work with everyday and back to a simpler time of mechanical elegance and simplicity.. "ninadm"
Darkwing Duck: The worst part of public transportation is the Public.
"That is awesome shit there" Re-Run
"Fear nothing, attack everything" Eric Berry
" Oh, you read that on the internet? Clearly it IS a massive problem. Of course it CANā€™t be normal operation."

1976 CB 750-A X 2
1977 CB 750-A X 4
1977 CB 750-K
1976 CB 750 F
1981 CB 750
1966 Kawasaki SG 250
1981 KZ 750 LTD
1973 CB 350
1979 CM 185 Twinstar
1982 Honda XL 80
South of Eden (Kansas City MO)
Reply | Threaded
Open this post in threaded view
|

Re: 1983 CB750 DOHC Build

Hoosier Daddy
TOOLS1 wrote
Bottom ends do not have the wear that the top end does. I would "plasti gauge" the bearings. If they are within spec I would reuse them since you stated they were smooth without scratches, or discoloring.
TOOLS
... on the rod bearings that is.
The mains wear on the bottom. Think where the force of the "Power Stroke" would push. Rods top, mains bottom.
As TOOLS said, Pasti-gauge is a great idea for clearance on both rods, mains, and the cams.
Feel with your fingernail, any grooves are bad, and by "discoloration" your looking for the lead outer surface to be worn away exposing the copper underneath. Looks like the center main bearing in this pic is a good example of that wear indicator.

81 Honda CB750C - Current Project
67 BSA Spitfire MkIII - Next Up (Full Resto)
81 Honda GL1100 - Bob / CafeĀ“
80 Suzuki GS750L - Bratstyle
72 Honda CB450K5 - Basket Case
73 Honda CB350F Cafe' (Gone but not forgotten)

Don't wait for opportunity to knock... kick the door down and drag the old harlot in!
Reply | Threaded
Open this post in threaded view
|

Re: 1983 CB750 DOHC Build

shinyribs
Administrator
Great pics! I'm with Hoosier. It does seem that the center main is wore thru to the copper.

My 78K shows extra wear in the same spot: lower half and sorta to the rear of the engine. I suppose it could be from the added force in that area that the primary drive puts on the crank.Just a guess,really.
Reply | Threaded
Open this post in threaded view
|

Re: 1983 CB750 DOHC Build

ljonny18
Thanks for the comments - just so you know, I decide to replace all bearings :)
Reply | Threaded
Open this post in threaded view
|

Re: 1983 CB750 DOHC Build

ljonny18
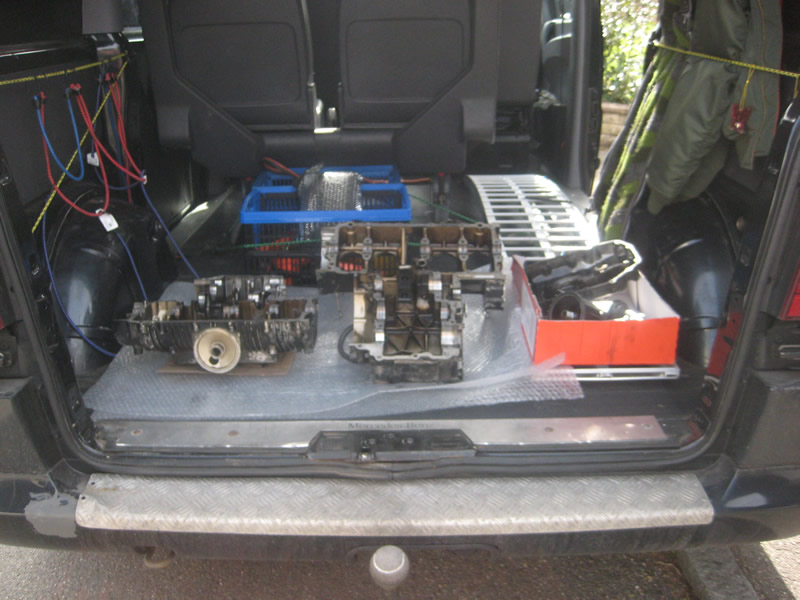
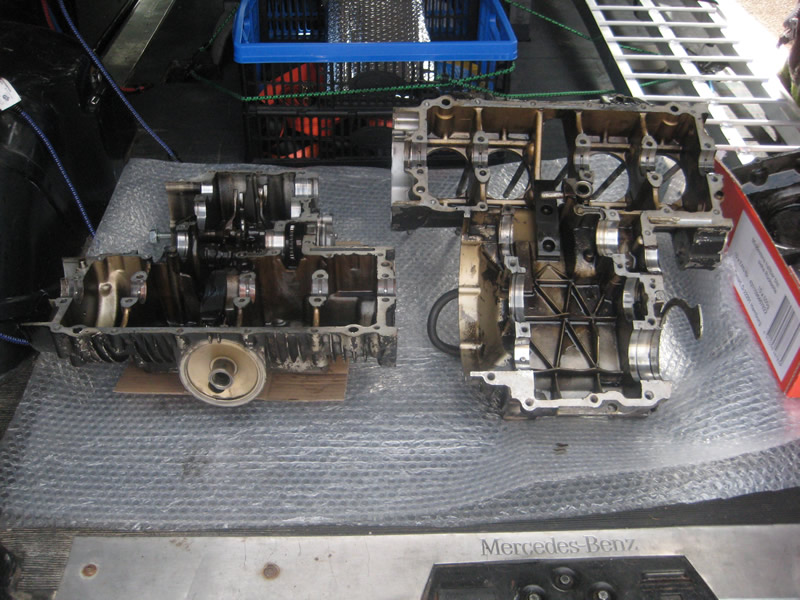
I have not managed to get much done this weekend as the engine casings have been away to get de-greased / cleaned up a bit ...

My neighbour works at a local car garage and has access to a good parts degreaser so kindly allowed me to take some bits down to get cleaned up

Parts all loaded in the van:    


Reply | Threaded
Open this post in threaded view
|

Re: 1983 CB750 DOHC Build

ljonny18
We left the parts overnight and gave them another going over the next day...

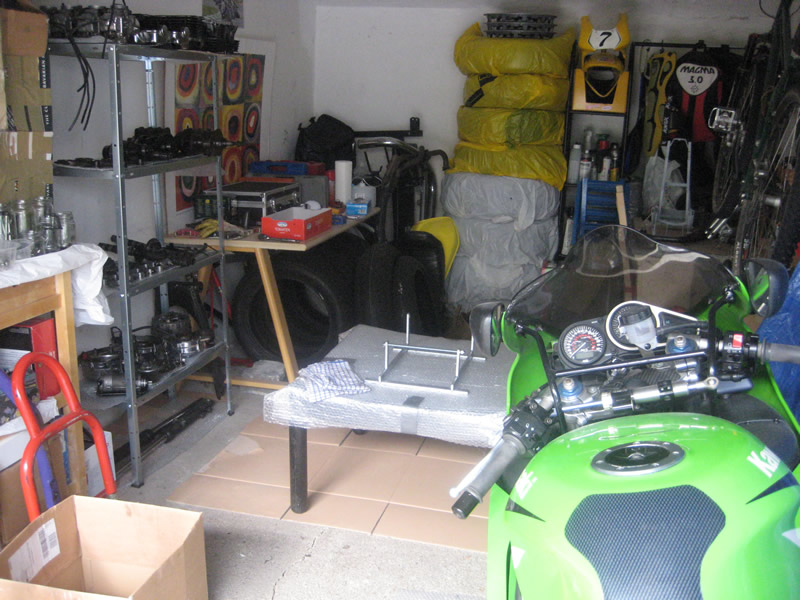
I used this time organizing what parts I need to oder (all new gaskets, bearings and seals etc...) and also spent some time cleaning up the garage so its a bit more in shape for the re-build when the casings come back and parts arrive :)

Believe it or not - this is after a good few hours cleaning up and reorganizing (although it does not look like it) :S


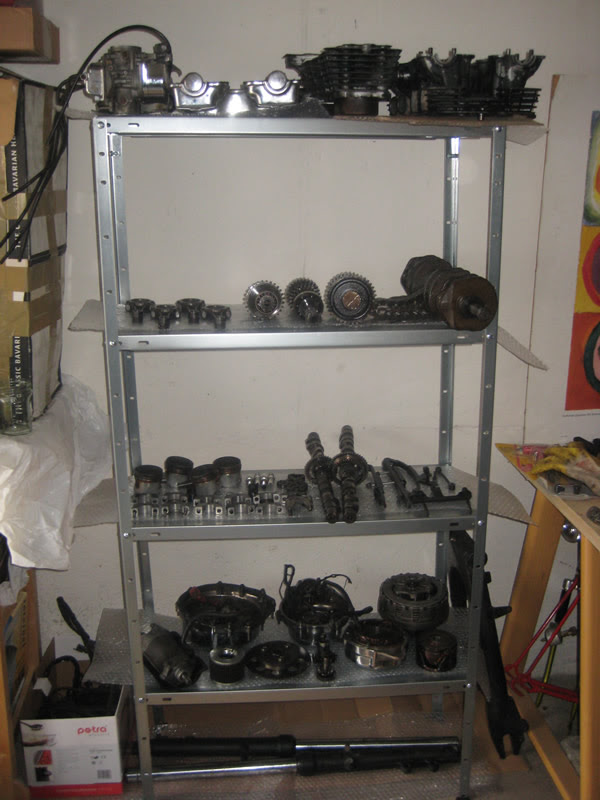
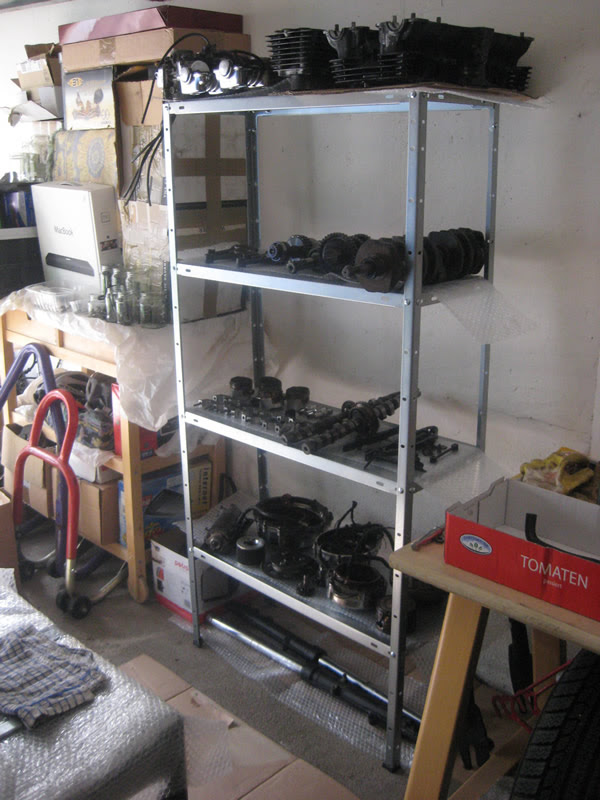
I also had to move the parts out of the apartment :( so I got some new shelves to try and keep it all in shape...


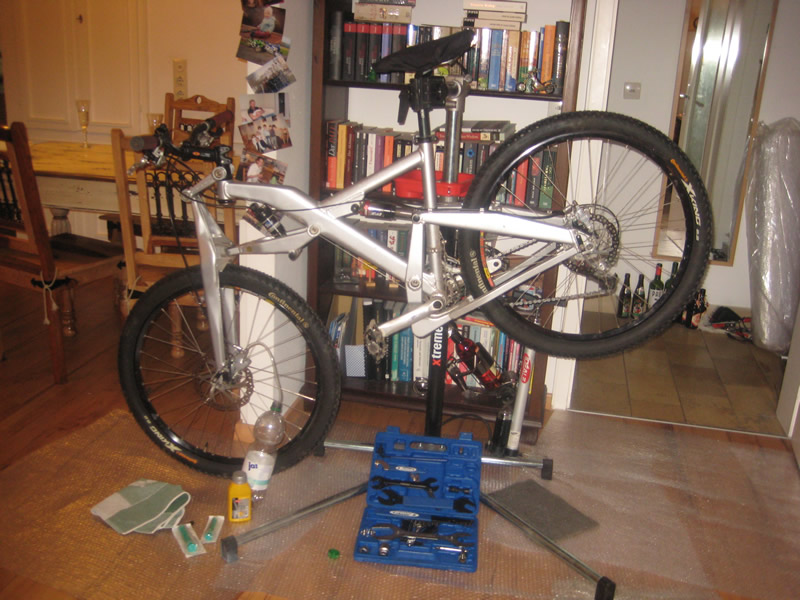
I also used this free time to sort my mountain bike out for the summer as the sun has started to shine here :)

Reply | Threaded
Open this post in threaded view
|

Re: 1983 CB750 DOHC Build

ljonny18
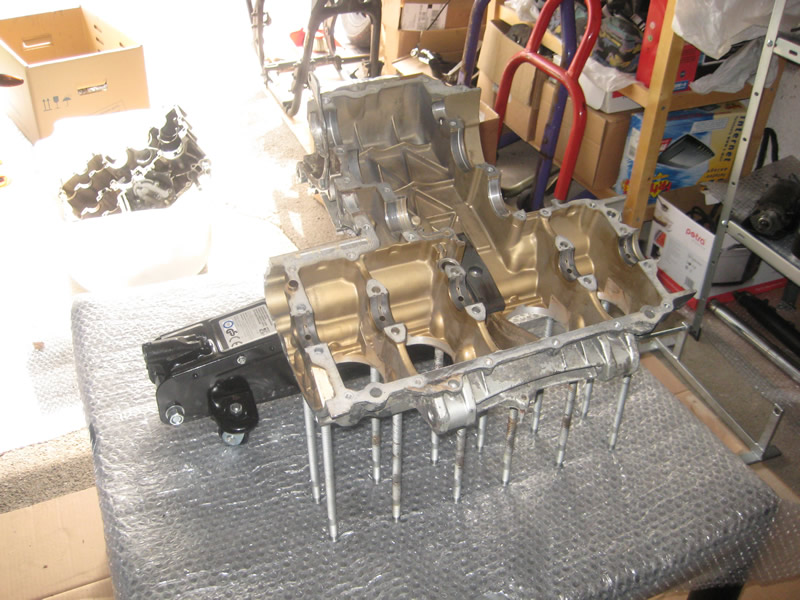
The casings came back and cleaned up pretty good... Just need to wait for the parts to arrive before I can start re-build - hopefully they will arrive this week !!!


Reply | Threaded
Open this post in threaded view
|

Re: 1983 CB750 DOHC Build

ljonny18
I think I have found a problem (if I have understood everything correctly) :

As I am waiting for parts (the parts I know need replacing ... ) to arrive, I decided to check the Primary Chain (according to the steps id the book :


Sorry, I accidentally cut some of the text off during scanning and was too lazy to re-scan the page :( The text basically says to "[i]... assemble the chain around the crankshaft and primary shaft sprockets, anchoring the crankshaft against suitable stops ... and apply a tension of 36kg (79 lb) ... with the chain under tension, measure the chain length ... The nominal length is 129.87 - 129.98 mm (5.109 - 5.117 in) ... The chain must be renewed when it reaches the service limit of 131.1mm (5.16 in)[/i]" :


I am guessing looking at the pic (fig 1.7) I need to take the measurements form the outside of the 2 shafts ??? I was not sure, so measured from both the outsides of the shafts and inside of the chain (both of which were greater than the recommended renewal length of 1.31.1 mm (5.16 in)) :(

The chain did however look quite long in comparison to these figures what laid out in a rectangle (theoretically at the the shortest distances) - [b]Note[/b]: I know this is completely inaccurate and irrelevant in comparison to the figures etc... just thinking "out loud" ;)

[b]Anyway[/b]... onto some more accurate measurments:

It was difficult to be 100% sure that te shafts were completely straight and supports in a stable / safe manner to prevent bending (not even sure if this is possible) or falling etc... but I did my best to get an accurate measurement...

This picture it just to show where I took the measurements from (from what I understood from figure 1.7 above) :


Ok. So the length of the chain under tension, between the 2 points (outsides of the 2 shafts (top of cam shaft and bottom of primary shaft) was well over 130.1 mm - the reading was different each time, bot the average was more like 141.1 mm !!! with the measurements from the insides of the chain being even larger !!!

So a few questions arise (although I think I will play it safe and simply renew the chain)... :

1). Have I measured / tested this correctly ???

if so...

2). Im assuming the chain is knackered (is in desperate need of renewing) ???

3). Could this be the cause of the knocking noise when the motor was together and running ?
4). Could this explain why the primary chain tensioner is worn ?
5). What would cause a primary chain to be so worn - should I be worried ???

Further to this, I seem to be having trouble getting hold of both a primary chain and tensioner / guide from any local dealers as its not is stock and not available to order etc ... :(

Any suggestions / help again and as always is very much appreciated...
Reply | Threaded
Open this post in threaded view
|

Re: 1983 CB750 DOHC Build

ljonny18
OK, I am at that stage of the project (that I and I guess most people hate) when I am waiting for both funds and parts :(

After all the fuss and confusion re the primary chain, I have decided to play it safe and get a new one. I have also been having problems getting hold of a Primary Chain tensioner and guide as they have been discontinued and most dealers don not have any in stock. I did however manager to get ones in v-good condition (especially in comparison to my current parts) from a member on a CB forum:


In the meantime I have managed to sort another level of cleaning out on my engin casings using dry ice :) :

Before:


After:


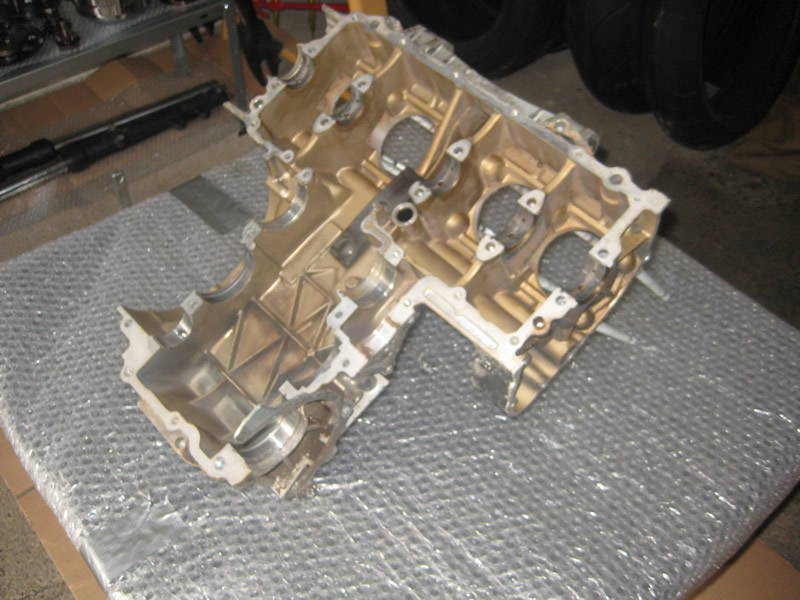
They came out pretty good, I pb dont even need to get the motor painted anymore !!! There were 2 layers of old crusty paint (first black and then silver) until it got down to the original metal - It is now (almost) like new and I can now even see / read the original engine bearing codes (engraved into the casing) - I wish I had been able to read them before I spent a whole weekend trying to measure my bearings :)
Reply | Threaded
Open this post in threaded view
|

Re: 1983 CB750 DOHC Build

seestheday
Wow, that looks great. Where did you get the dry ice?

Sent from my BlackBerry device

From: ljonny18 [via Honda CB750'S]
Sent: Monday, February 4, 2013 8:20 AM
To: seestheday
Subject: Re: 1983 CB750 DOHC Build

OK, I am at that stage of the project (that I and I guess most people hate) when I am waiting for both funds and parts :(

After all the fuss and confusion re the primary chain, I have decided to play it safe and get a new one. I have also been having problems getting hold of a Primary Chain tensioner and guide as they have been discontinued and most dealers don not have any in stock. I did however manager to get ones in v-good condition (especially in comparison to my current parts) from a member on a CB forum:


In the meantime I have managed to sort another level of cleaning out on my engin casings using dry ice :) :

Before:


After:


They came out pretty good, I pb dont even need to get the motor painted anymore !!! There were 2 layers of old crusty paint (first black and then silver) until it got down to the original metal - It is now (almost) like new and I can now even see / read the original engine bearing codes (engraved into the casing) - I wish I had been able to read them before I spent a whole weekend trying to measure my bearings :)


If you reply to this email, your message will be added to the discussion below:
http://honda-cb750-s.456789.n3.nabble.com/1983-CB750-DOHC-Build-tp4032204p4036088.html
To unsubscribe from 1983 CB750 DOHC Build, click here.
NAML

1981 CB750K with 900 cams
90K KM's, rebuilt head, rebuilt carbs, upgraded valve stem seals

My wife's recipe website that I'm trying to help promote: Strawberries for supper. Yes, I am a lucky man.

My cb750 video site
Reply | Threaded
Open this post in threaded view
|

Re: 1983 CB750 DOHC Build

Hoosier Daddy
Dry ice or vapor blasting is usually performed by a Pro due to the specialized equipment involved. I would love to have access to that machinery. So nice to have your media literally "disapear into thin air"! and minimal residue on the parts afterwards.
 Parts look outstanding!
81 Honda CB750C - Current Project
67 BSA Spitfire MkIII - Next Up (Full Resto)
81 Honda GL1100 - Bob / CafeĀ“
80 Suzuki GS750L - Bratstyle
72 Honda CB450K5 - Basket Case
73 Honda CB350F Cafe' (Gone but not forgotten)

Don't wait for opportunity to knock... kick the door down and drag the old harlot in!
Reply | Threaded
Open this post in threaded view
|

Re: 1983 CB750 DOHC Build

seestheday
Oh, dry ice blasting. For some reason I thought it was a freeze/heat process that caused the crappie to fall off.

Ya, I'm still stuck with elbow grease because I don't want to pay the expense to get it blasted and I don't have a large compressor myself.

Sent from my BlackBerry device

From: Hoosier Daddy [via Honda CB750'S]
Sent: Monday, February 4, 2013 3:10 PM
To: seestheday
Subject: Re: 1983 CB750 DOHC Build

Dry ice or vapor blasting is usually performed by a Pro due to the specialized equipment involved. I would love to have access to that machinery. So nice to have your media literally "disapear into thin air"! and minimal residue on the parts afterwards.
 Parts look outstanding!
81 Honda CB750C - Current Project
67 BSA Spitfire MkIII - Next Up (Full Resto)
81 Honda GL1100 - Bob / CafeĀ“
80 Suzuki GS750L - Bratstyle
72 Honda CB450K5 - Basket Case
73 Honda CB350F Cafe' (Gone but not forgotten)

Don't wait for opportunity to knock... kick the door down and drag the old harlot in!


If you reply to this email, your message will be added to the discussion below:
http://honda-cb750-s.456789.n3.nabble.com/1983-CB750-DOHC-Build-tp4032204p4036105.html
To unsubscribe from 1983 CB750 DOHC Build, click here.
NAML

1981 CB750K with 900 cams
90K KM's, rebuilt head, rebuilt carbs, upgraded valve stem seals

My wife's recipe website that I'm trying to help promote: Strawberries for supper. Yes, I am a lucky man.

My cb750 video site
Reply | Threaded
Open this post in threaded view
|

Re: 1983 CB750 DOHC Build

ljonny18
In reply to this post by Hoosier Daddy
Hoosier Daddy wrote
Dry ice or vapor blasting is usually performed by a Pro due to the specialized equipment involved. I would love to have access to that machinery. So nice to have your media literally "disapear into thin air"! and minimal residue on the parts afterwards.
 Parts look outstanding!
Hi Hoosier Daddy, you are correct, specialist equipment is required.

I did not do this myself, there is a guy local to where I work that specialises in both sand and dry ice blasting. Sand blasting is also a possible option and gives better results, however it is much more messy leaving sand everywhere which can be v-difficult to clean out (especially importent when working with engine internals). Also dry ice blasting is a nicer / more friendly (less abrasive) to the metal / engine casings so is: although not as good an option as sand blasting, (in my opinion) a safer option :)
123456