|
|
123456
|
|
seestheday wrote
Oh, dry ice blasting. For some reason I thought it was a freeze/heat process that caused the crappie to fall off. Ya, I'm still stuck with elbow grease because I don't want to pay the expense to get it blasted and I don't have a large compressor myself. Sent from my BlackBerry device From: Hoosier Daddy [via Honda CB750'S] Sent: Monday, February 4, 2013 3:10 PM To: seestheday Subject: Re: 1983 CB750 DOHC Build
Dry ice or vapor blasting is usually performed by a Pro due to the specialized equipment involved. I would love to have access to that machinery. So nice to have your media literally "disapear into thin air"! and minimal residue on the parts afterwards.
Parts look outstanding!
@seestheday - here is a link that explains what dry ice is all about (its also the company that did my parts):
http://www.frozenclean.de/index.phpIts in German, but you can translate the page and get an idea :)
I have since also had all the engine covers, cylinder and cylinder head done. In total for the complete engine, I paid a little over 100 Euros, which (in my opinion) is not a great deal considering what you get for your money ! Hope this helps ?
|
|
|
This post was updated on .
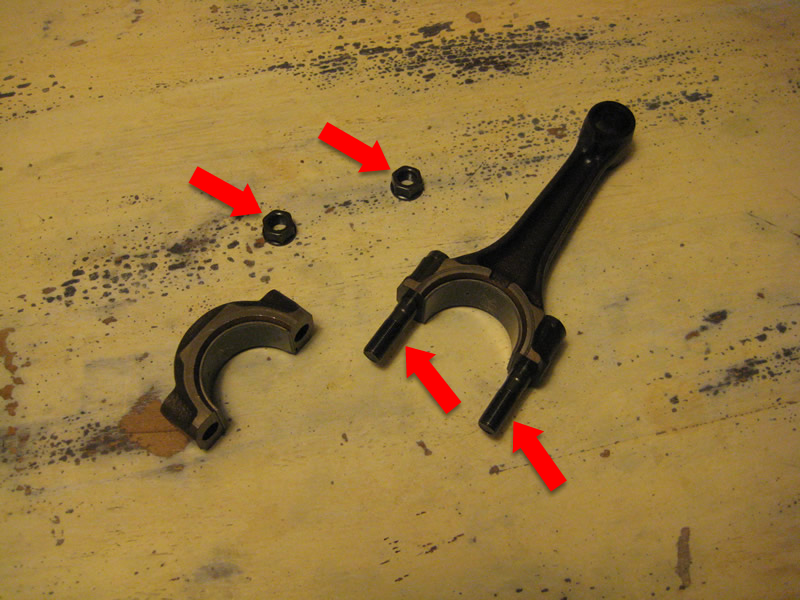
I have read that is is a good idea (good practice) to replace the connecting rod nut and bolts when doing an engine rebuild:
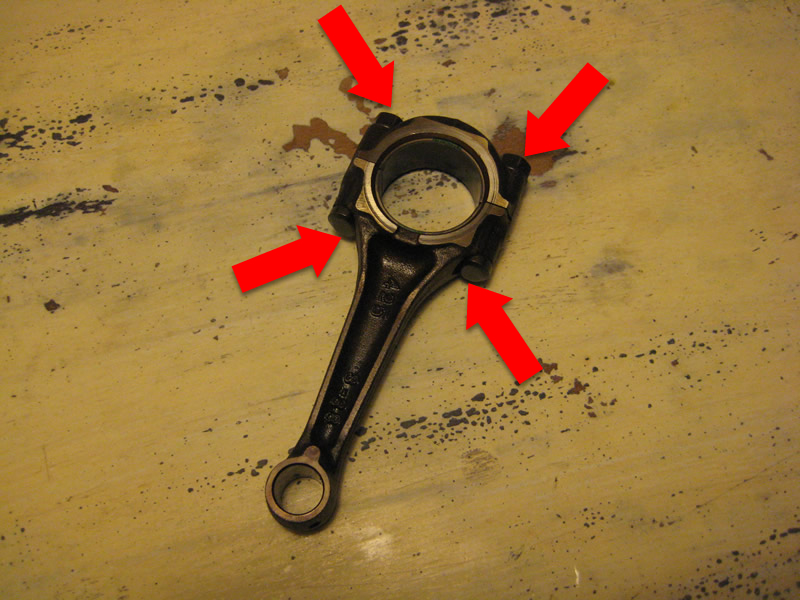 Is this really necessary ??? Is it not enough to simply add some loctite red and be done with it ?!?
 Cheers,
Jon.
|
|
|
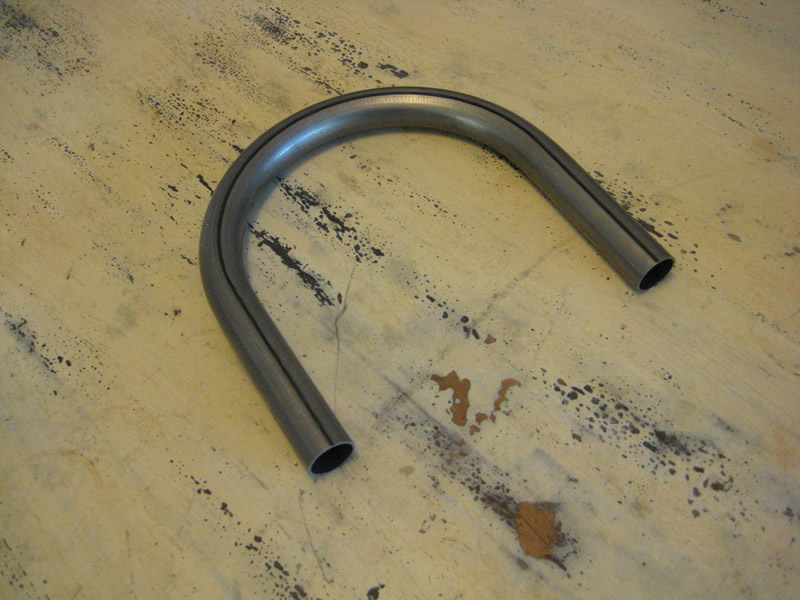
This will be the back of my seat unit. I created this as the original was (unfortunately) hacked off by the previos owner :( although I think this will look good:
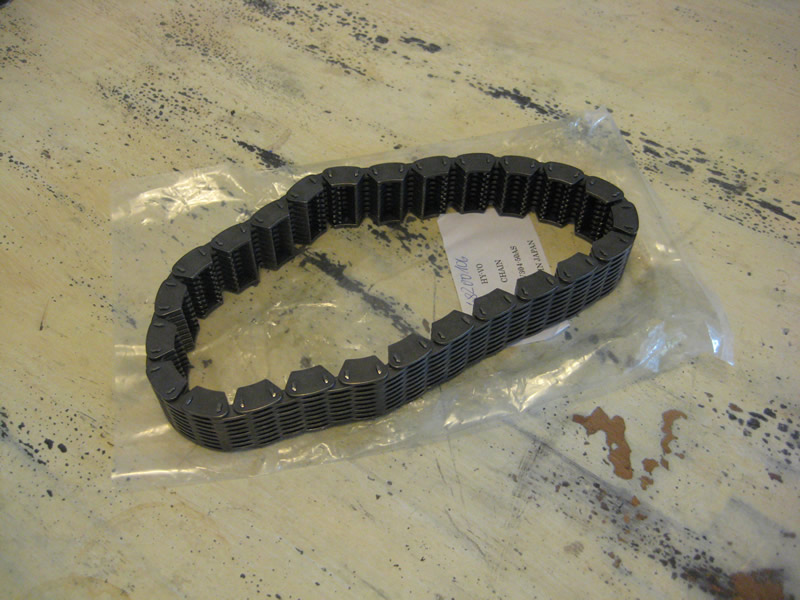
 So parts are slowly but surely starting to arrive:
Primary chain and tensioners:
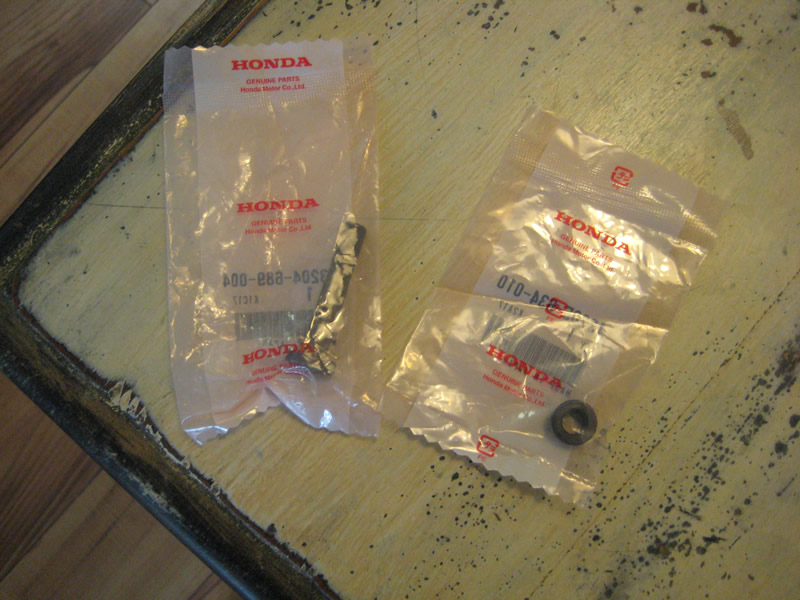
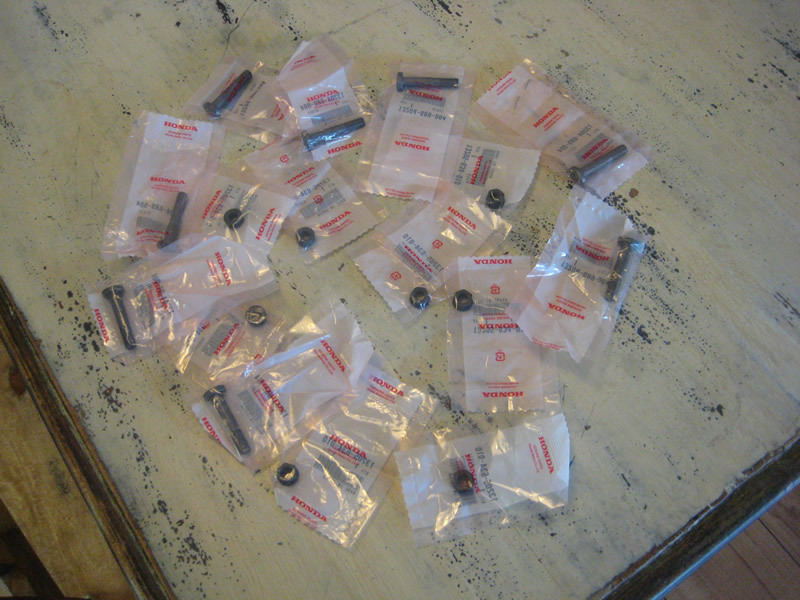
 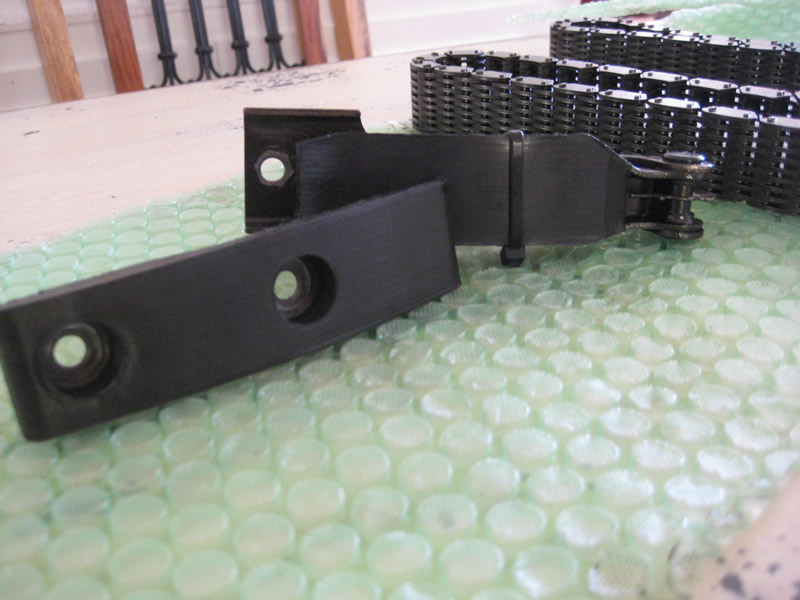 I did some digging around re the connecting rod nuts and bolts. I found lots of different opinions and thoughts, so decided (again) to play it safe and replace them.
These must be the most expensive nuts and bolts i've ever bought. Oh well I guess at least its for peace of mind.... :
|
|
|
Ok, most of my parts have now arrived. There were some (I think seals that were not possible to get hold of as they have been discontinued ... I will have to look into this further as and when I get to them etc ... ) :
 Hopefully progress can start to now pick up again :)
|
|
Administrator
|
I have never replaced connecting rod bolts/nuts on a stock rebuild. Also , do not use loctite on them. Just lube them, and torque to factory spec.
TOOLS
Life is not about the number of breaths, you take, but the moments that take your breath away.
I don't have an anger problem. I have an idiot problem. Hank Hill
Never confuse education for intelligence.
Happiness is a belt fed weapon.
I just can't imagine what could go wrong.
No fire? No explosions? So whats the point of your story?
Those who are too smart to engage in politics are punished by being governed by those who are dumber. ~Plato
It couldn't be done, but the darn fool didn't know it, and did it anyway.
We all got problems. Ksharp
I like vintage bikes because they take me away from the clutter of technology that I work with everyday and back to a simpler time of mechanical elegance and simplicity.. "ninadm"
Darkwing Duck: The worst part of public transportation is the Public.
"That is awesome shit there" Re-Run
"Fear nothing, attack everything" Eric Berry
" Oh, you read that on the internet? Clearly it IS a massive problem. Of course it CAN’t be normal operation."
1976 CB 750-A X 2
1977 CB 750-A X 4
1977 CB 750-K
1976 CB 750 F
1981 CB 750
1966 Kawasaki SG 250
1981 KZ 750 LTD
1973 CB 350
1979 CM 185 Twinstar
1982 Honda XL 80
South of Eden (Kansas City MO)
|
|
|
TOOLS1 wrote
I have never replaced connecting rod bolts/nuts on a stock rebuild. Also , do not use loctite on them. Just lube them, and torque to factory spec.
TOOLS
Hi, I was not too sure... I read its best to as they can stretch especially on high mileage motors etc.. but could not really get my head around it. Im a novice and dont really know what im doing :D so am just playing it safe... I just hope its all worth it in the end :)
|
|
|
Hi all, sorry i have not updated this thread for a while, this is not because I have been to lazy to do so. but because I have hardly made any progress that is worth posting :S
As mentioned in my previous post, I have received pretty much all of the parts that I require re re-building the bottom end of the engine. I cannot start the re-build until I have got ris of all the old gaskets from the engine casings, which is not as easy / nicer job as I had hoped :( The gaskets are in the same state as the rest of the motor was and im guessing they have never been replaced. I have read a few tips / tricks to speed up / make removing old gaskets easier, however I decided to just play it safe and slowly keep at it with regular breaks to not risk damaging any of the surfaces etc .... im making (although v-slow) progress :) This is the last gasket I have to get rid of:
    In the meantime (between gasket fighting) I have managed to start working on some more cosmetic jobs, including sourcing an older (SOHC) tank which I managed to get from Sayonara Cycles ([URL="www.sayonara-cycles.de"]www.sayonara-cycles.de[/URL]) who have some nice bikes - have a look.
  The next step for the tank, is to try and get it to fit on my later (DOHC) frame - this will require some fabrication, although (I think/hope) will look good when its done - I love the look / old school style of the older CB tanks... if it does not work, I will have to go back to using the prigional tank and re-think my plans / ideas.
I also managed to get access to a welding machine and finally got my seat unit braket welded up to the frame:
     There is a long metal piece (Dowel ???) tightly fitted through the middle of the seat bracket and frame and then all welded up, so it is very strong :) I am quite pleased with the result, and hope it looks good once I have (tried) made a custom seat to fit.
Thats about all I have so far... I hope to be finished with the gaskets this week depending on time, give the motor a final cleaning in the parts wash, and get started on the bottom end re-build again.
|
|
|
I have bought a new primary chain as I was not sure as to what condition it was in (im guessing bad) and I dont have the correct equipment to test / measure it correctly. Therefore I thought (like with most other parts im unsure of) to go new. Next was to check the primary shaft assembly. I have bought new bearings for the shaft, but wanted to check that the rubbers within the shock absorver bady were good, as if not I guess they could make for a "snathcy" feel between the clutch and gearbox during riding....
Ready for dismantling and inspection:
 The rubbers looked (surprisingly) good. After taking them all out and inspecting them, none of them seemed damaged, and when assembled, they were tight with no free play. back together again :)
  New bearings and seals for the shaft:
  and back together

|
|
|
Next up, gearbox...
 I stripped the gearbox shaft (my camera ran out of battery at this point so missing some pics), again replacing worn bearing and seals. I checked each gear for damage, but all looked great !!!
 One thing I had not done was to remove the gear change / selector mechanism. I was not going to do so, as I thought I could just leave it in peace and place without disturbing anything, however I had both a new oil seal, and main bearing for the change drum, so had to take (most of) it out after all... Plus it was in need of a good clean.
My make shift parts wash:
   and out:
  Once out, I gave it all a good clean, fittend the new bearing, seal and also return spring (as mine was looking a little old) and re-fitted the mechanism which went a lot easier than expected.
|
|
|
I had a little time between jobs, so decided to prep the connecting rods the new (green) bearing shells and new connecting rod nuts and bolts :) (see earlier posts re checking and getting the correct (color / width) connecting and main bearing shells).
  old parts:
 new nuts and bolts:
 and bearing (left) :
 fitted:

|
|
|
Next step.. more cleaning :) I pretty much cleaned all parts before reassemble of the bottom end, e.g. cleaning the crank shaft :
  After all new parts had been fittet to their relevant components, and all major parts and components were all cleaned up, I started the reassembly.
First up was to bit the new main bearing shells (brown) to both engine casings (I have already fitted the rod bearings):
 Not forgetting to add a bit of oil to the casings before putting the shells in place:
  Top half complete:
  Onto the bottom half:
 And the bottom casing bearing shells fitted:
 
|
|
|
hey ljonny, just thought i'd give you a thumbs up on your build. I can't believe the amount of time and detail you have put into this so far, not to mention the amount of parts, etc. awesome job. I had a lol over your gasket post, hope you keep on pushing forward I've been following as have others and cant wait to see the result.
P.S. I fixed my seat today. LOL  cheers
most motorcycle problems are caused by the nut that connects the handelbars to the saddle.
|
|
|
Great pictures and details THX  but it's a d.o.h.c.  Alpha has are other 
1977 CB750 F2 Super Sport
<LET THOSE WHO RIDE DECIDE><RIDE TO LIVE-LIVE FOR JESUS>
Native American from central Cal, Kickstand UP in S.W.Missouri,
|
|
|
Hi guys, im back !!!
Sorry for not posting the last months, we had a little boy !!! This is the little chap who has been keeping me busy:
 Now he is a bit older I am managing to get a few (not many) more hours in the garage, so am hoping to crack on and get the project finished :)
I will get some progress pics updated and post them asap !!!
Cheers,
Jon.
|
|
Administrator
|
Congrats on the little guy! Hope to see you around soon. Catch ya later...
|
|
|
Great thread man!
Do you have more pictures of the front wheel with the spacers?
I'm curious to see how your twin disc front wheel mounts up, since I'm missing mine.
|
|
|
Where have you been sourcing your parts from? I am at that stage now with my build.
|
123456
|






 Alpha has are other
