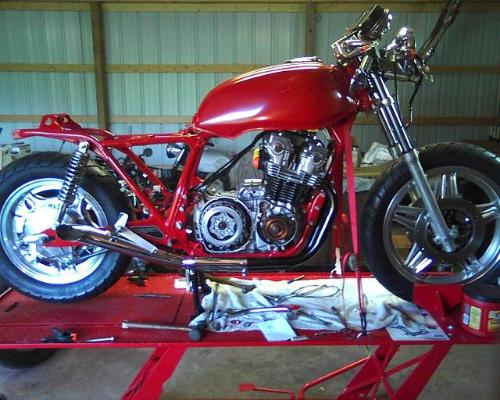
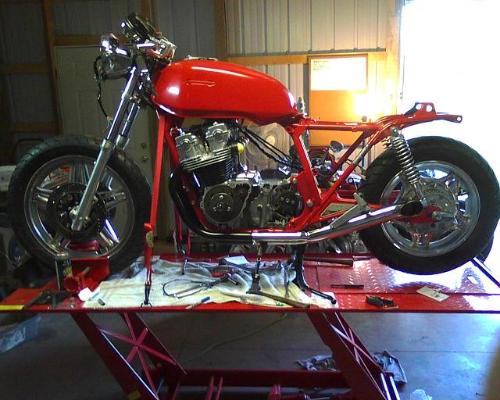
Picked up two bronze bushings with shoulders and washers with an ID to fit the 3/8" peg bolts and their OD was just under 1/2" at .490" . After searching my bins for a suitable bit, another trip for a 1/2" bit necked down to fit my 3/8 chuck.
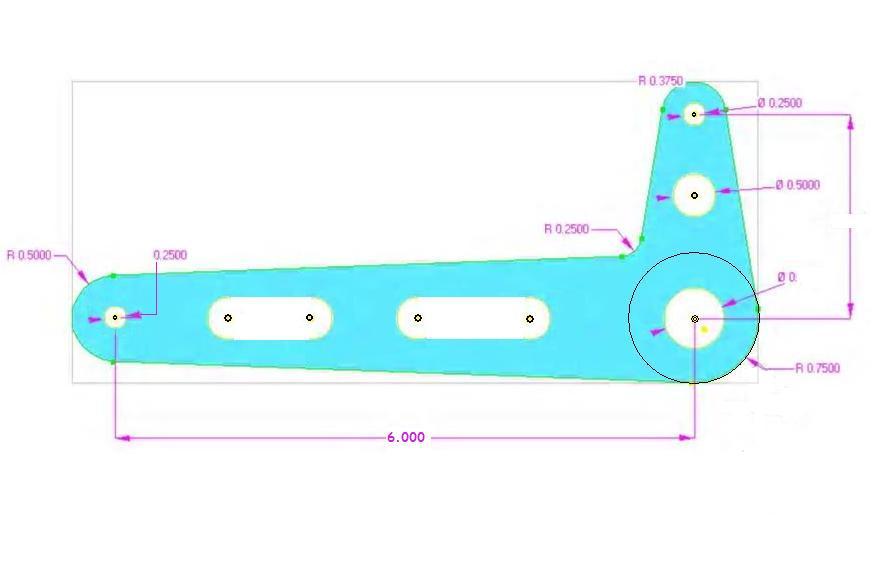
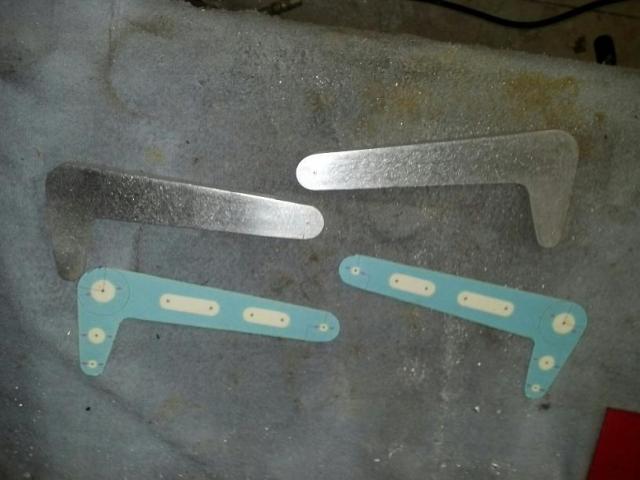
Printed and cut out the pattern onto some cardstock and transfer that onto my 3/8" aluminum plate.
Then came the tedious sawing of the aluminum with my jig-saw. Slow and stready, several pie cuts and radius holes to get the curves close... I need to buy a band saw.
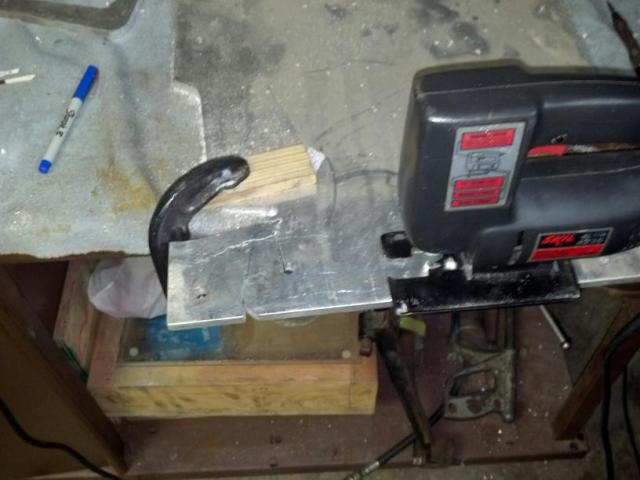
...and the rough cut pieces.
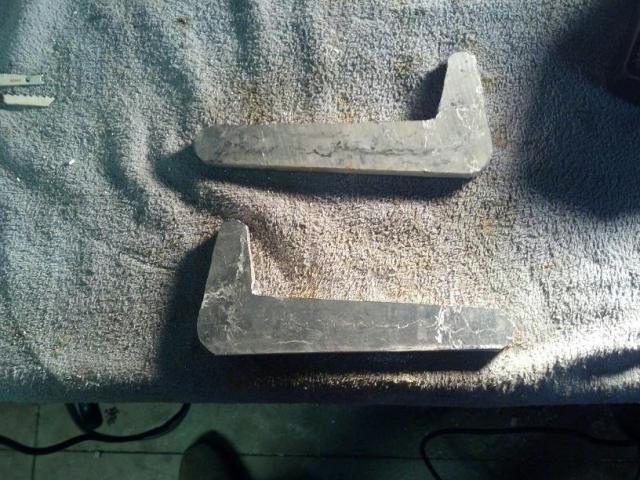
Then I transfered the holes with my auto-punch. Notice I made both a right and left pattern that allowed me to draw the patern and transfer to holes on both pieces easily so I'd be sure to be cutting / drilling from the back side, hate to marr the good sides nice finish.
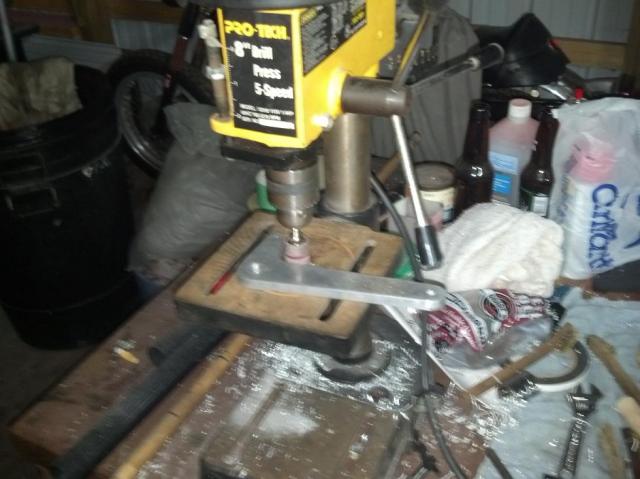
Then onto the drill press. I used a 13/64" drill bit, both for the pilot holes of the pivot and to have the right size to tap the toe peg holes to 1/4-20. then drilled the pivot holes out to the 1/2". Changed to a drum sander to clean the rough edges, best way for me with my limited equipment to get in the radius.
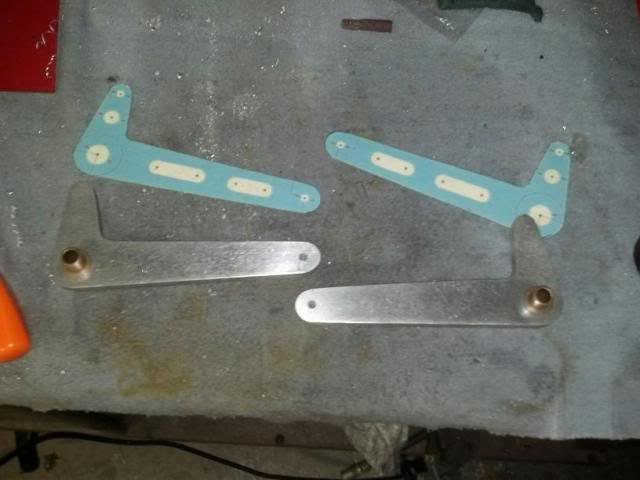
Next a little clean up with a rolled up piece of scotchbrite and a dab of oil in the pivots, I fit the bushings.
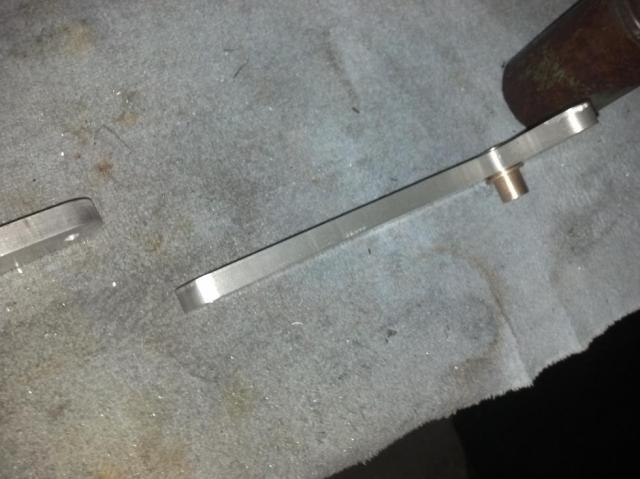
Here's and edge shot to show hole the drum sander cleans up the rough cut edge. Key is to keep it moving, don't stop in one spot to long...
Coming up I plan to get 1/4-20 shoulder bolts and hose for the toe pegs. Then the clevis and heim joints along with rod to thread for the linkage, once those are in hand I will drill the remaining holes. Hate to guess on the size of that hole size now and risk messing up.
So more to come.
81 Honda CB750C - Current Project
67 BSA Spitfire MkIII - Next Up (Full Resto)
81 Honda GL1100 - Bob / Cafe´
80 Suzuki GS750L - Bratstyle
72 Honda CB450K5 - Basket Case
73 Honda CB350F Cafe' (Gone but not forgotten)
Don't wait for opportunity to knock... kick the door down and drag the old harlot in!


